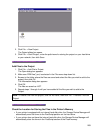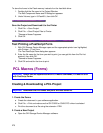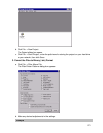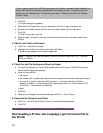
If you create a black oval in MS Paint and leave all the color command filters checked, the
black oval will print as a black rectangle when the overlay is used. To maintain the oval
shape, turn off (deselect) the "Configure Image Data," "Palette Control ID,"and "Palette
Control" filters.
c. Click OK.
The Open dialog box appears.
d. Make sure Print spool files (*.prn) is selected in the File of type drop-down list.
e. Browse to the folder where the files are saved and double-click the file name.
f. Click OK.
The file is saved as a .bin file.
g. Repeat steps 1 through 5 until you have converted all the files you wish to add to the
Project.
4. Add the .bin Files to the Project
a. Click File → Add File to Project.
b. Highlight the .bin files you wish to add, then click Open.
The file names appear in the Project dialog box.
Note: To delete a file from the project, click the file name, then click File → Remove
File from Project.
5. Check the .bin File Settings and Save the Project
a. To check the settings for the bin files, double-click the file name. The Edit Component
Name and ID dialog box appears.
b. Here you can edit the
• file name
• ID number (the number you need to enter in the printer driver when printing overlays)
• volume: 0: = printer's disk drive PCL partition 1: = printer's disk drive Common
partition %disk0%: = printer's disk drive PostScript partition 2: = Flash memory PCL
%Flash0% = Flash memory PostScript
• path.
c. Click OK.
d. When you're through reviewing the settings, click File → Save Project.
6. Download the Project to the Printer
a. Click File → Send Project Files to Printer. Command Issued appears.
b. Click OK.
Downloading a Printer Job Language (.pjl) Command File to
the Printer
272


