7-2
RS232C Interfaces
7
7.1 Overview
The CN1 RS232C communication connector is provided in order to make connection with host devices such as
PCs and PLCs via the RS232C. The operation display pendant (abbreviated as TBX, optional device) can also
be connected to this connector. Refer to Chapter 9, “Operation Display Pendant” for a description of how to use
the operation display pendant. This chapter explains how to connect the CN1 RS232C communication connector
to devices other than the operation display pendant.
In the RS232C interface, two communication modes are available. The first is a single channel
communication where the connection is made 1:1 with the host device, and the other is a multi-channel
communication where 1:N communication can be performed by connecting one host device with several of
these drivers (a maximum of nine). Please note that the connection and operation methods are different for each
communication mode.
In addition, the PC utility (optional) running under Windows can also be connected to the drivers via the
RS232C interface in order to support setting, operation, and maintenance work on the drivers. Refer to Chapter 8,
“DrvGII PC Utility” for a description of how to use the PC utility.
7.2 Connection and Setting
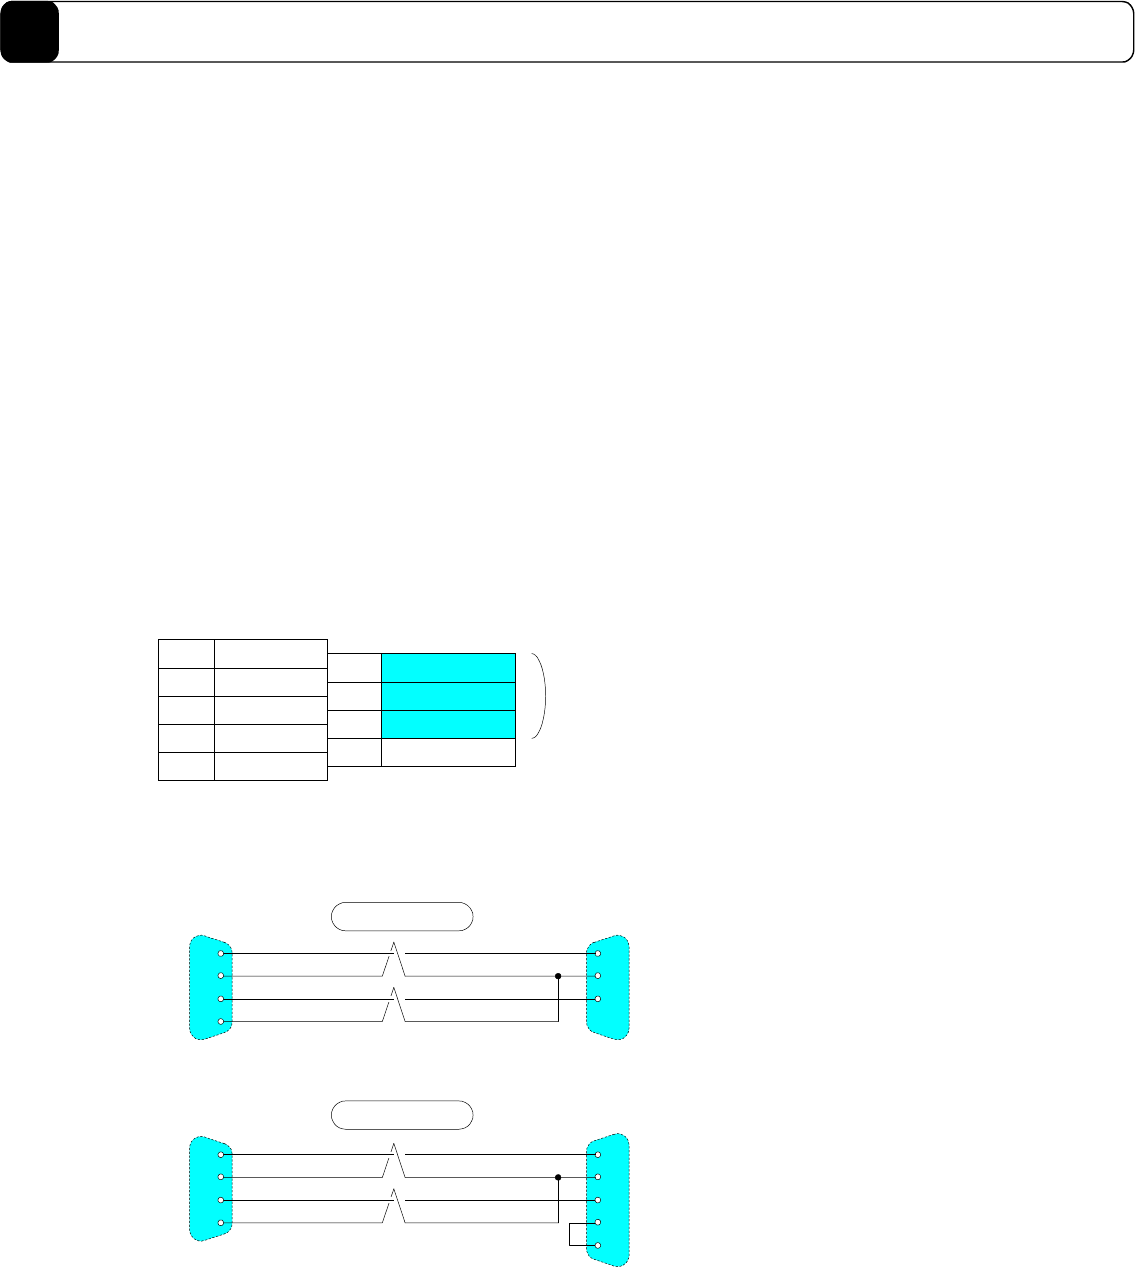
[Connectors and terminal assignment]
01 FG
06
05
04
03
02
SG
(NC)
TxD
RxD
09
08
07
XTBXON
XTBXEMG
+5V
Do not use these connections,
since they are used for the
operation display pendant.
Made by Japan Aviation Electronics
DELC-J9SAF13L6 (9 pins)
SG
[Single channel]
The connection cables (optional) are available according to the PC to be connected (DOS/V, NEC PC98).
02
09
03
05
RxD
SG
TxD
SG
02
03
05
RxD
TxD
SG
Driver PCDOS/V
D-sub 9-pin male D-sub 9-pin female
02
09
03
05
RxD
SG
TxD
SG
03
02
07
RxD
TxD
SG
Driver PCPC98
D-sub 9-pin male
D-sub 25-pin male
05
04
CTS
RTS
Option cable
CP7576S-020 (2 m)
Option cable
CP7577S-020 (2 m)
In order to set the communication mode to the single channel mode, the rotary switch RS-ID on the front panel
should be turned to “0.” This setting should be made before turning the power on.


