2. Installing Client Software
156 Printing Guide — Installing Client Software for Macintosh
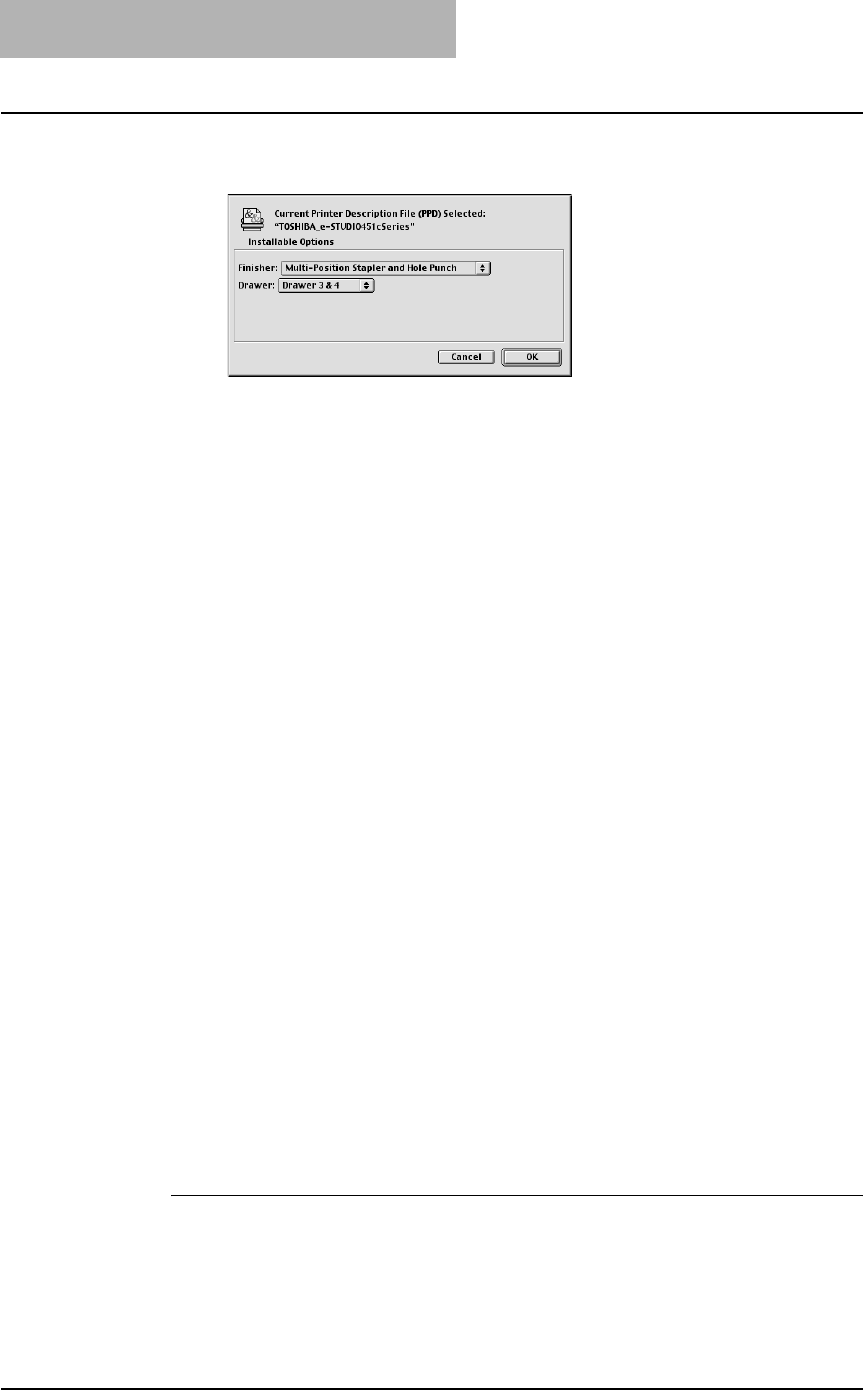
4. Select each option according to the configuration of this
equipment and click [OK].
z FInisher
Not Installed — Select this when no finisher is installed.
Single-Position Stapler — Select this when the Hanging Finisher is installed.
Multi-Position Stapler — Select this when the Multi-staple Finisher or Saddle-
stitch Finisher is installed.
Multi-Position Stapler and Hole Punch — Select this when the Multi-staple
Finisher or Saddle-stitch Finisher and Hole Punch unit are installed.
NOTE: When you select “Multi-Position Stapler” or “Multi-Position Stapler and Hole Punch”, the
saddle-stitching function will be selectable for printing. However, saddle-stitching is
available only when the Saddle-stitch Finisher is installed.
z Drawer
Not Installed — Select this when no optional drawer is installed.
Drawer 3 — Select this when the drawer 3 is installed.
Drawer 3 & 4 — Select this when the drawer 3 and 4 are installed.
LCF — Select this when the Large Capacity Feeder is installed.
NOTE: LCF is not available for some countries or regions.
5. Close the Chooser Dialog box.
• The Printer icon is created on the desktop.
Installing the Printer on Mac OS X 10.2.4 to Mac OS X 10.3.x
Install and configure the printer by the following steps:
P.156 "Installing the Macintosh PPD File"
P.159 "Configuring the Printer on Mac OS X"
P.165 "Configuring the Installable Options"
Installing the Macintosh PPD File
This equipment supports printing from Mac OS X 10.2.4 to Mac OS X 10.3.x.
Copying the PPD file to Mac OS X
1. Insert the Client Utilities CD-ROM into the CD-ROM drive and
open your language folder in the “Client:MacPPD:OSX”
folder.
2. Copy the GZ file (TOSHIBAeSTUDIO451cSeries.dmg.gz) to
the desktop.


