3. Printing
Printing Guide — Printing from Windows 259
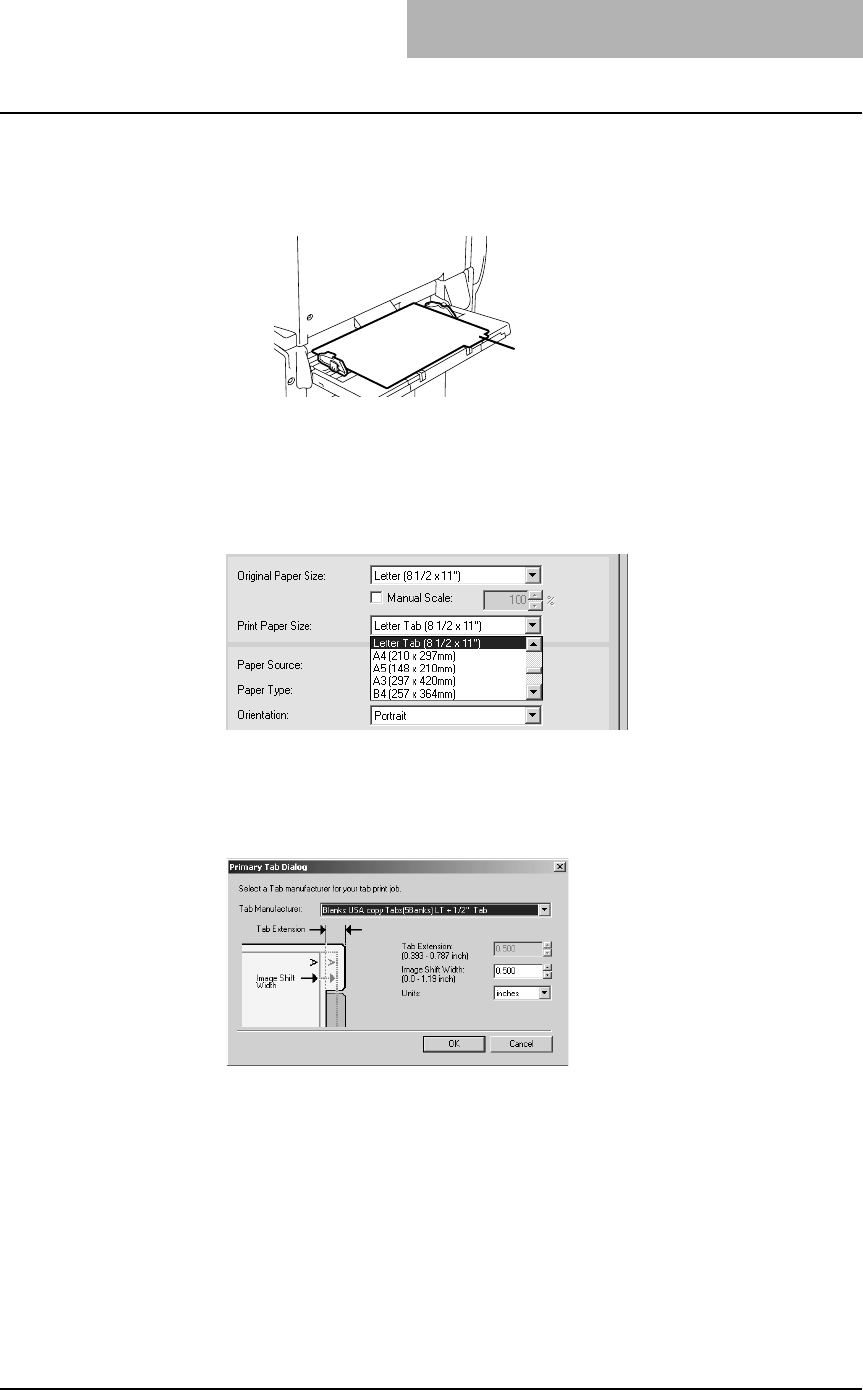
2. Place tab paper on the drawer or bypass tray.
• When placing the tab paper on the bypass tray, place the tab paper so that
the tab side becomes outside.
3. When printing a document, display the [Setup] tab of the
printer driver properties, select document size in the “Origi-
nal Paper Size” drop down box, and select either “Letter
Tab” or “A4 Tab” (according to the document size) in the
“Print Paper Size” drop down box.
• The Primary Tab Dialog dialog box appears.
4. In the “Tab Manufacturer” drop down box, select the product
name of the tab paper that you use, or select “Custom” when
you use other manufactured tab paper.
5. When you select “Custom” in the “Tab Manufacturer” option,
enter the width of tab extension in the “Tab Extension” field.
6. Enter the width to shift the printed image in the “Image Shift
Margin” filed.
• If you create a document as described in Step 1, enter the width of the tab
extension here.
NOTE: This equipment cannot print in the 0.08 inch or 2 mm margin area on the right side on
the paper. Therefore, be sure to enter the image shift margin so that an image will be
printed within the printable area.
Place the tab paper
so that the tab side
becomes outside.


