


3. Printing
Printing Guide — Printing from Windows 243
— Creating An Overlay File
You can print a document as an overlay file. The created overlay file can then be
merged into another document during printing.
P.257 "Printing with an Overlay File"
NOTES: • If the print job has several pages in the document, only the first page of the docu-
ment will be saved as an overlay file.
• Both the overlay file and the documents on which you superimpose the overlay
image must be created at the same size, orientation, and resolution.
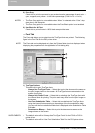
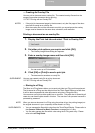
Printing a document as an overlay file
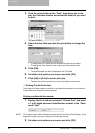
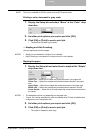
1. Display the Print Job tab and select “Print to Overlay File”.
2. Set other print options you require and click [OK].
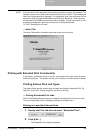
• The Overlay Image Name dialog box appears.
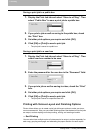
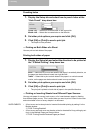
3. Enter a overlay image name and then click [OK].
• You can enter up to 63 characters.
4. Click [OK] or [Print] to send a print job.
• The document is saved as an overly file.
SUPPLEMENT: You can use created overly file to print a document.
P.257 "Printing with an Overlay File"
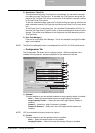
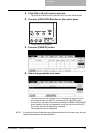
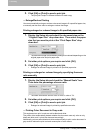
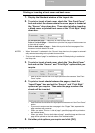
— Storing to e-Filing
The Store to e-Filing feature allows you to send print jobs to e-Filing on this equipment.
The job stored to e-Filing can then be print from the Touch Panel Display at a later time.
It can be also composed with other documents using the e-Filing web utility.
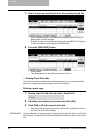
You can store a print job to either public box or user box. The public box is shared by all
users who can see the jobs stored in this box. The user box is for personal use and is
protected by password.
NOTE: When you store a document in e-Filing using the printer driver, the printing image (not
the original document in your computer) will be stored in e-Filing.
SUPPLEMENTS: • You can manage the files within a box from the Touch Panel Display. Please refer to
the Operator’s Manual for Basic Function to manage files in a box.
• You can also manage the files within a box using the e-Filing web utility. Please
refer to the e-Filing Guide.