


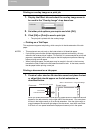
3. Printing
Printing Guide — Printing from Windows 257
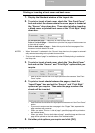
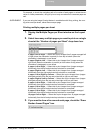
7. To rotate the watermark, enter the degrees in the “Angle”
field.
• You can enter from -90 degrees to 90 degrees in units of 1 degree in the
“Angle” field.
• You can also set the angle using the scroll bar.
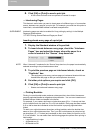
8. Select how the watermark text is printed from “Solid”, “Draw
as Outline”, and “Transparency”.
Solid — Select this to print solid type of watermark.
Draw as Outline — Select this to print an outline type of watermark.
Transparency — Select this for a transparent watermark. Set the transparent
ratio from 0 to 100% in units of 1%. You can also set the transparent ratio using
the scroll bar.
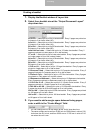
9. Click [OK] to save the watermark settings.
• The watermark is added or edited.
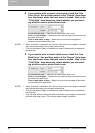
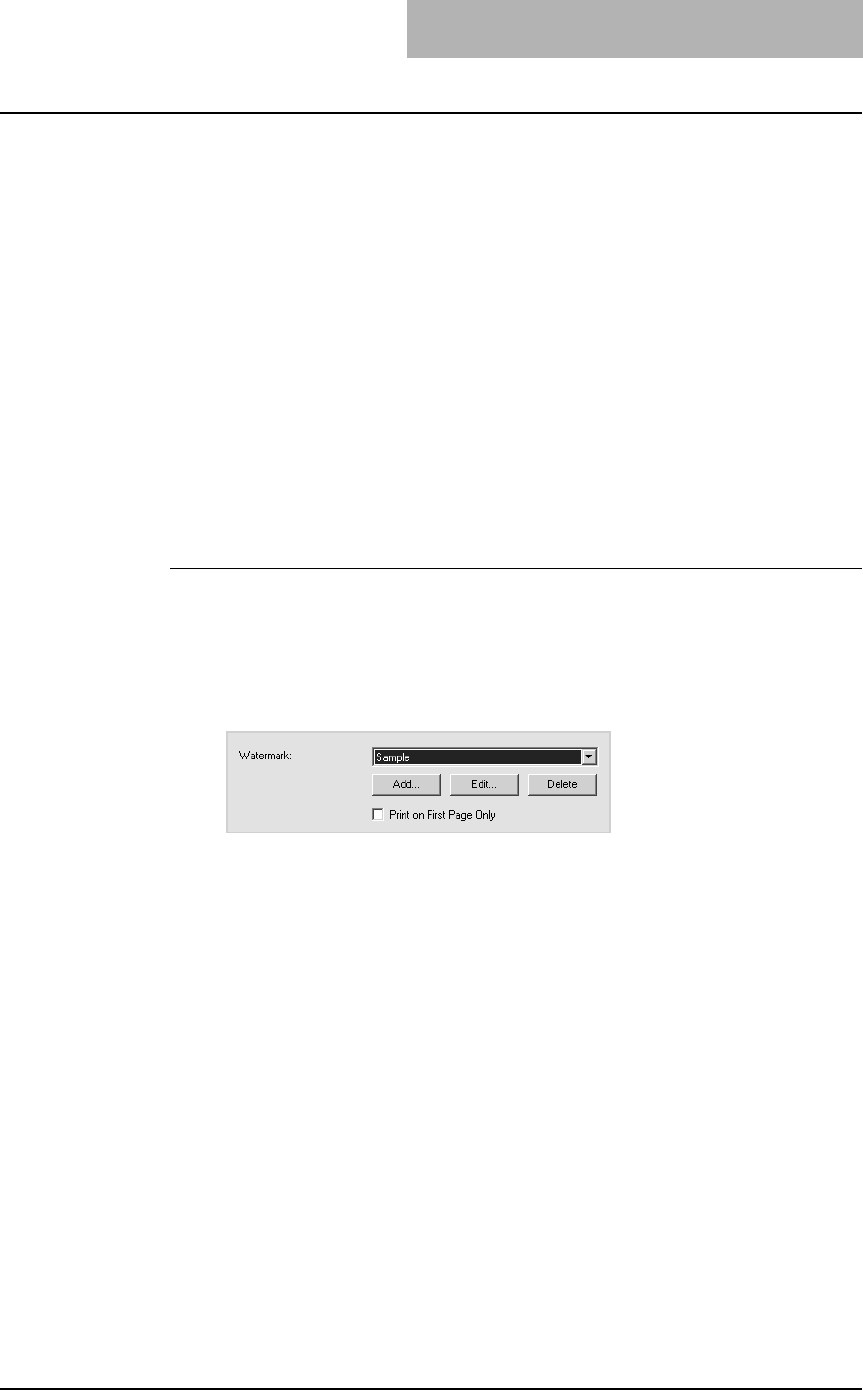
Deleting a watermark
NOTE: You can delete the default watermarks. However, they cannot be restored by clicking
the [Restore Defaults] button.
1. Select a watermark that you want to delete at the “Water-
mark” drop down box.
2. Click [Delete].
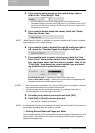
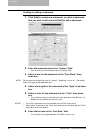
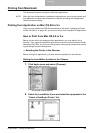
— Printing with an Overlay File
Using image overlays ensures that widely-used images are readily available and con-
sistently reproduced. Image overlays are independent documents that are merged into
other documents during printing and thereby increase the time required to print a job.
To superimpose text on your document, it may be faster to use watermarks.
To print with an overlay file, you should create an overlay file first.
P.243 "Creating An Overlay File"
NOTES: • If you use Image Overlays in combination with the N-up feature, the image overlay
is printed once per sheet, not once per page.
• Both the overlay file and the documents on which you superimpose the overlay
image must be created at the same size, orientation, color mode, and resolution.