


COPYRIGHT
©
1998 CANON INC. CANON NP7161/NP7160 REV.0 AUG. 1998 PRINTED IN JAPAN (IMPRIME AU JAPON)
8–21
CHAPTER 8 INSTALLATION
LED1 LED2 LED3
2
1
LED5
LED6
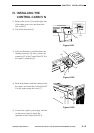
LED4
IC6
SW1
SW4
SW3
6
1
BAT1
CN4
1
2
CN3 CN2
SW2
[18]
[24]
[25]
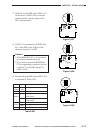
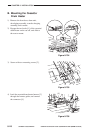
Figure 8-516
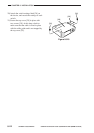
17) Check if the device is capable of ringing
up the computer at the service station.
Press the push switch [18] (SW4).
A press will turn on LED6 [24] (red): it
will turn off upon completion of
transmission, and it will flash upon
failure.
Another press on the push switch (SW4)
[18] while LED6 [24] is flashing will
initiate transmission once again.
A press on the push switch (SW1) [25]
while LED 6 [24] is flashing will cancel
transmission attempts.
LED1 LED2 LED3
2
1
LED5
LED6
LED4
IC6
SW1
SW4
SW3
6
1
BAT1
CN4
1
2
CN3 CN2
SW2
[27]
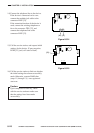
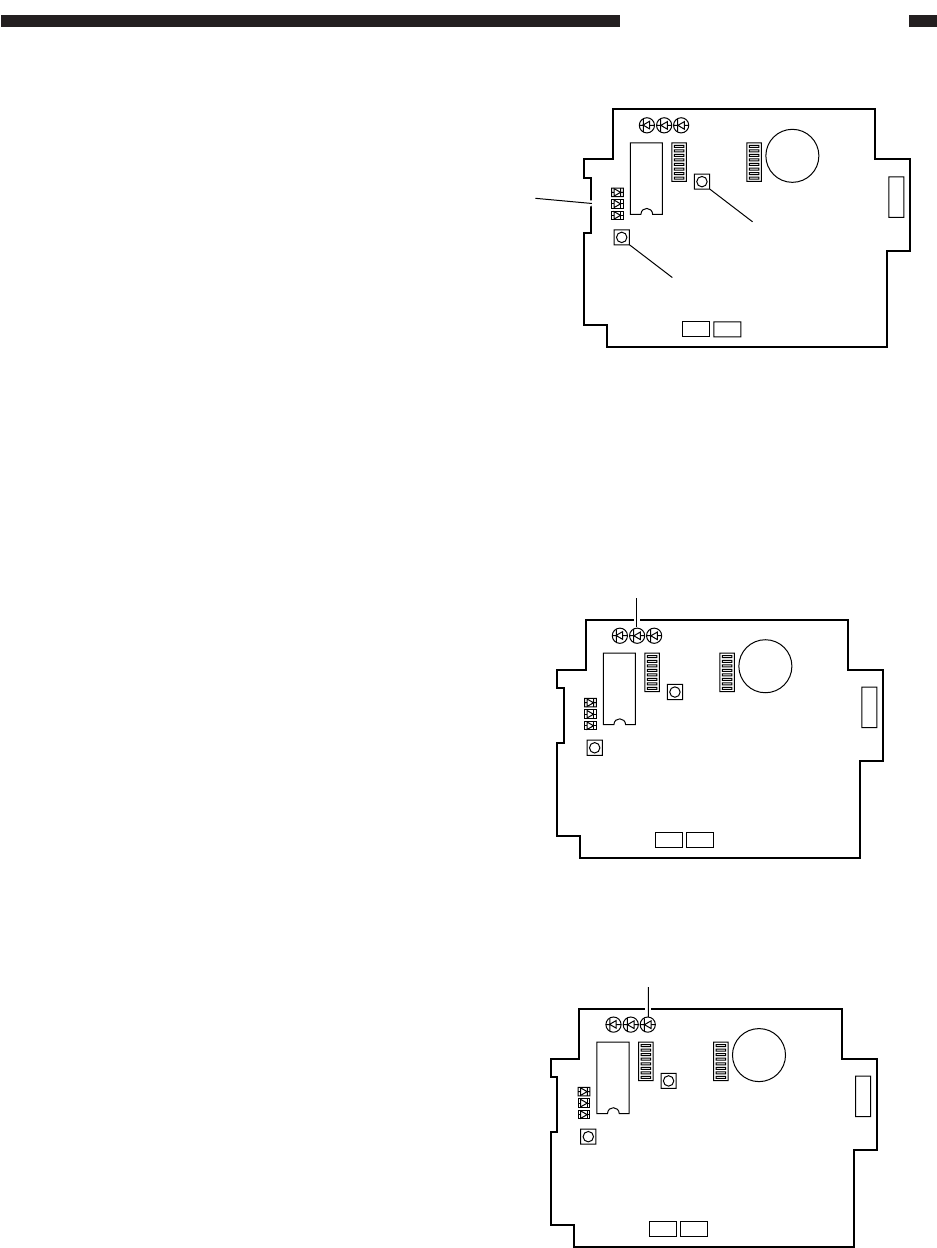
Figure 8-518
19) Press the copier’s Copy Start key so that
LED3 [27] (pink) flashes in response.
LED1 LED2 LED3
2
1
LED5
LED6
LED4
IC6
SW1
SW4
SW3
6
1
BAT1
CN4
1
2
CN3 CN2
SW2
[26]
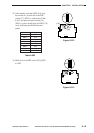
Figure 8-517
18) Check to make sure that the
communication with the copier is normal.
Connect the copier’s power plug, and turn
on the power switch to see that LED2 [26]
(orange) flashes.