Troubleshooting
120
10
E
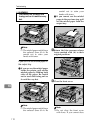
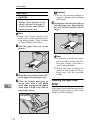
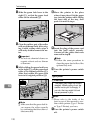
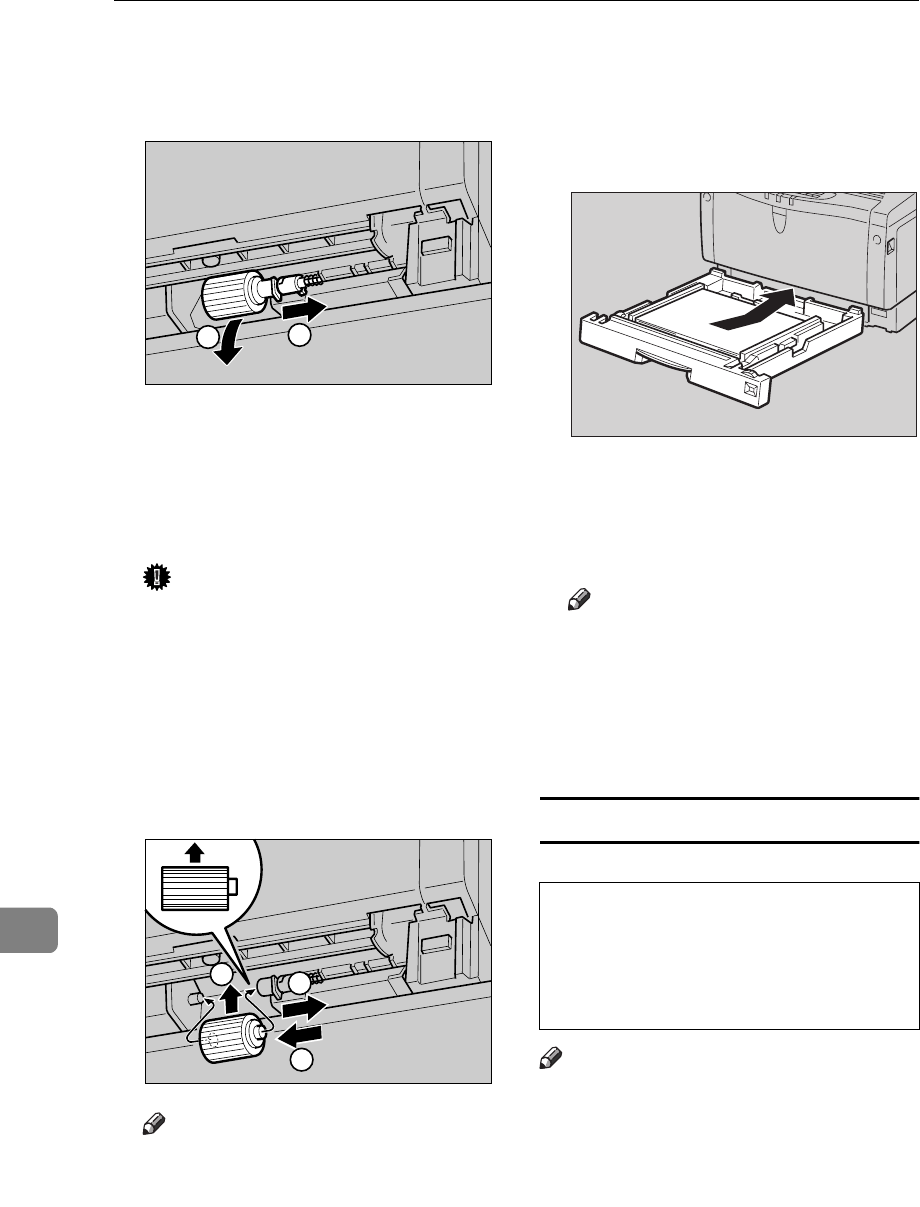
Slide the green lock lever to the
right (
A
), so that the paper feed
roller can be released (
B
).
F
Clean the rubber part of the roller
with a soft damp cloth. After wip-
ing it with a damp cloth, wipe it
with a dry cloth to remove the wa-
ter.
Important
❒
Do not use chemical cleaner or
organic solvent such as thinner
or benzene.
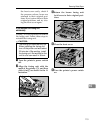
G
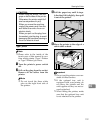
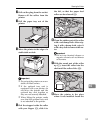
While sliding the green lock lever
to the right (
A
), set the paper feed
roller to its original position (
B
).
After that, return the green lock
lever to its original position (
C
).
Note
❒
Make sure that the green lock le-
ver secures the roller correctly
by confirming that the roller ro-
tates smoothly.
H
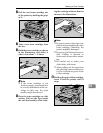
Move the printer to the place
where it was placed. Set the paper
tray into the printer while lifting
the front side of the tray, then
push it in until it stops.
I
Insert the plug of the power cord
into the wall socket securely.
Connect all the cables that were
removed in step
B
.
Note
❒
Follow the same procedure to
clean the paper feed roller of the
optional tray unit.
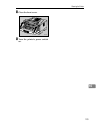
J
Turn the printer's power switch
on.
Type 2 printer
R
CAUTION:
Note
❒
Please refer to the inside of the
front cover of this manual to con-
firm which printer (Type 1 Printer
or Type 2 Printer) you have.
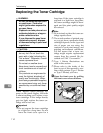
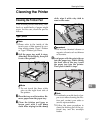
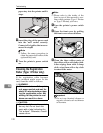
A
Turn the printer's power switch
off.
TS3M040E
2
1
TS3M050E
1
3
2
•
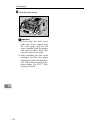
The paper tray does not have a
stopper. When pulling it out, be
careful not to pull it strongly. If
you do, the tray might fall and
cause personal injury.
TS3Y100E


