Copyright © 1999 G031-8617 Printed in Japan
UE
SETTING UP FOR PRINTING
Printing requires installation of a printer driver for
your operating system.
See “Printer Drivers for Your Printer” in the
“Operating Instructions”.
CONNECTING THE PRINTER TO A
COMPUTER
Connect the printer to your computer using a
parallel port.
Important
❒ The parallel interface cable is not provided with
the printer. It is your responsibility to provide the
interface cable appropriate for the computer that
you are using.
❒ The printer’s parallel connection is a standard bi-
directional interface. It requires a standard 36-pin
parallel cable compliant with IEEE1284 and a
parallel port available on your computer.
❒ To avoid electrical interference, use the shielded
cable.
Note
❒ Do not use a parallel cable more than 2.5 meters
(8.2 feet) long.
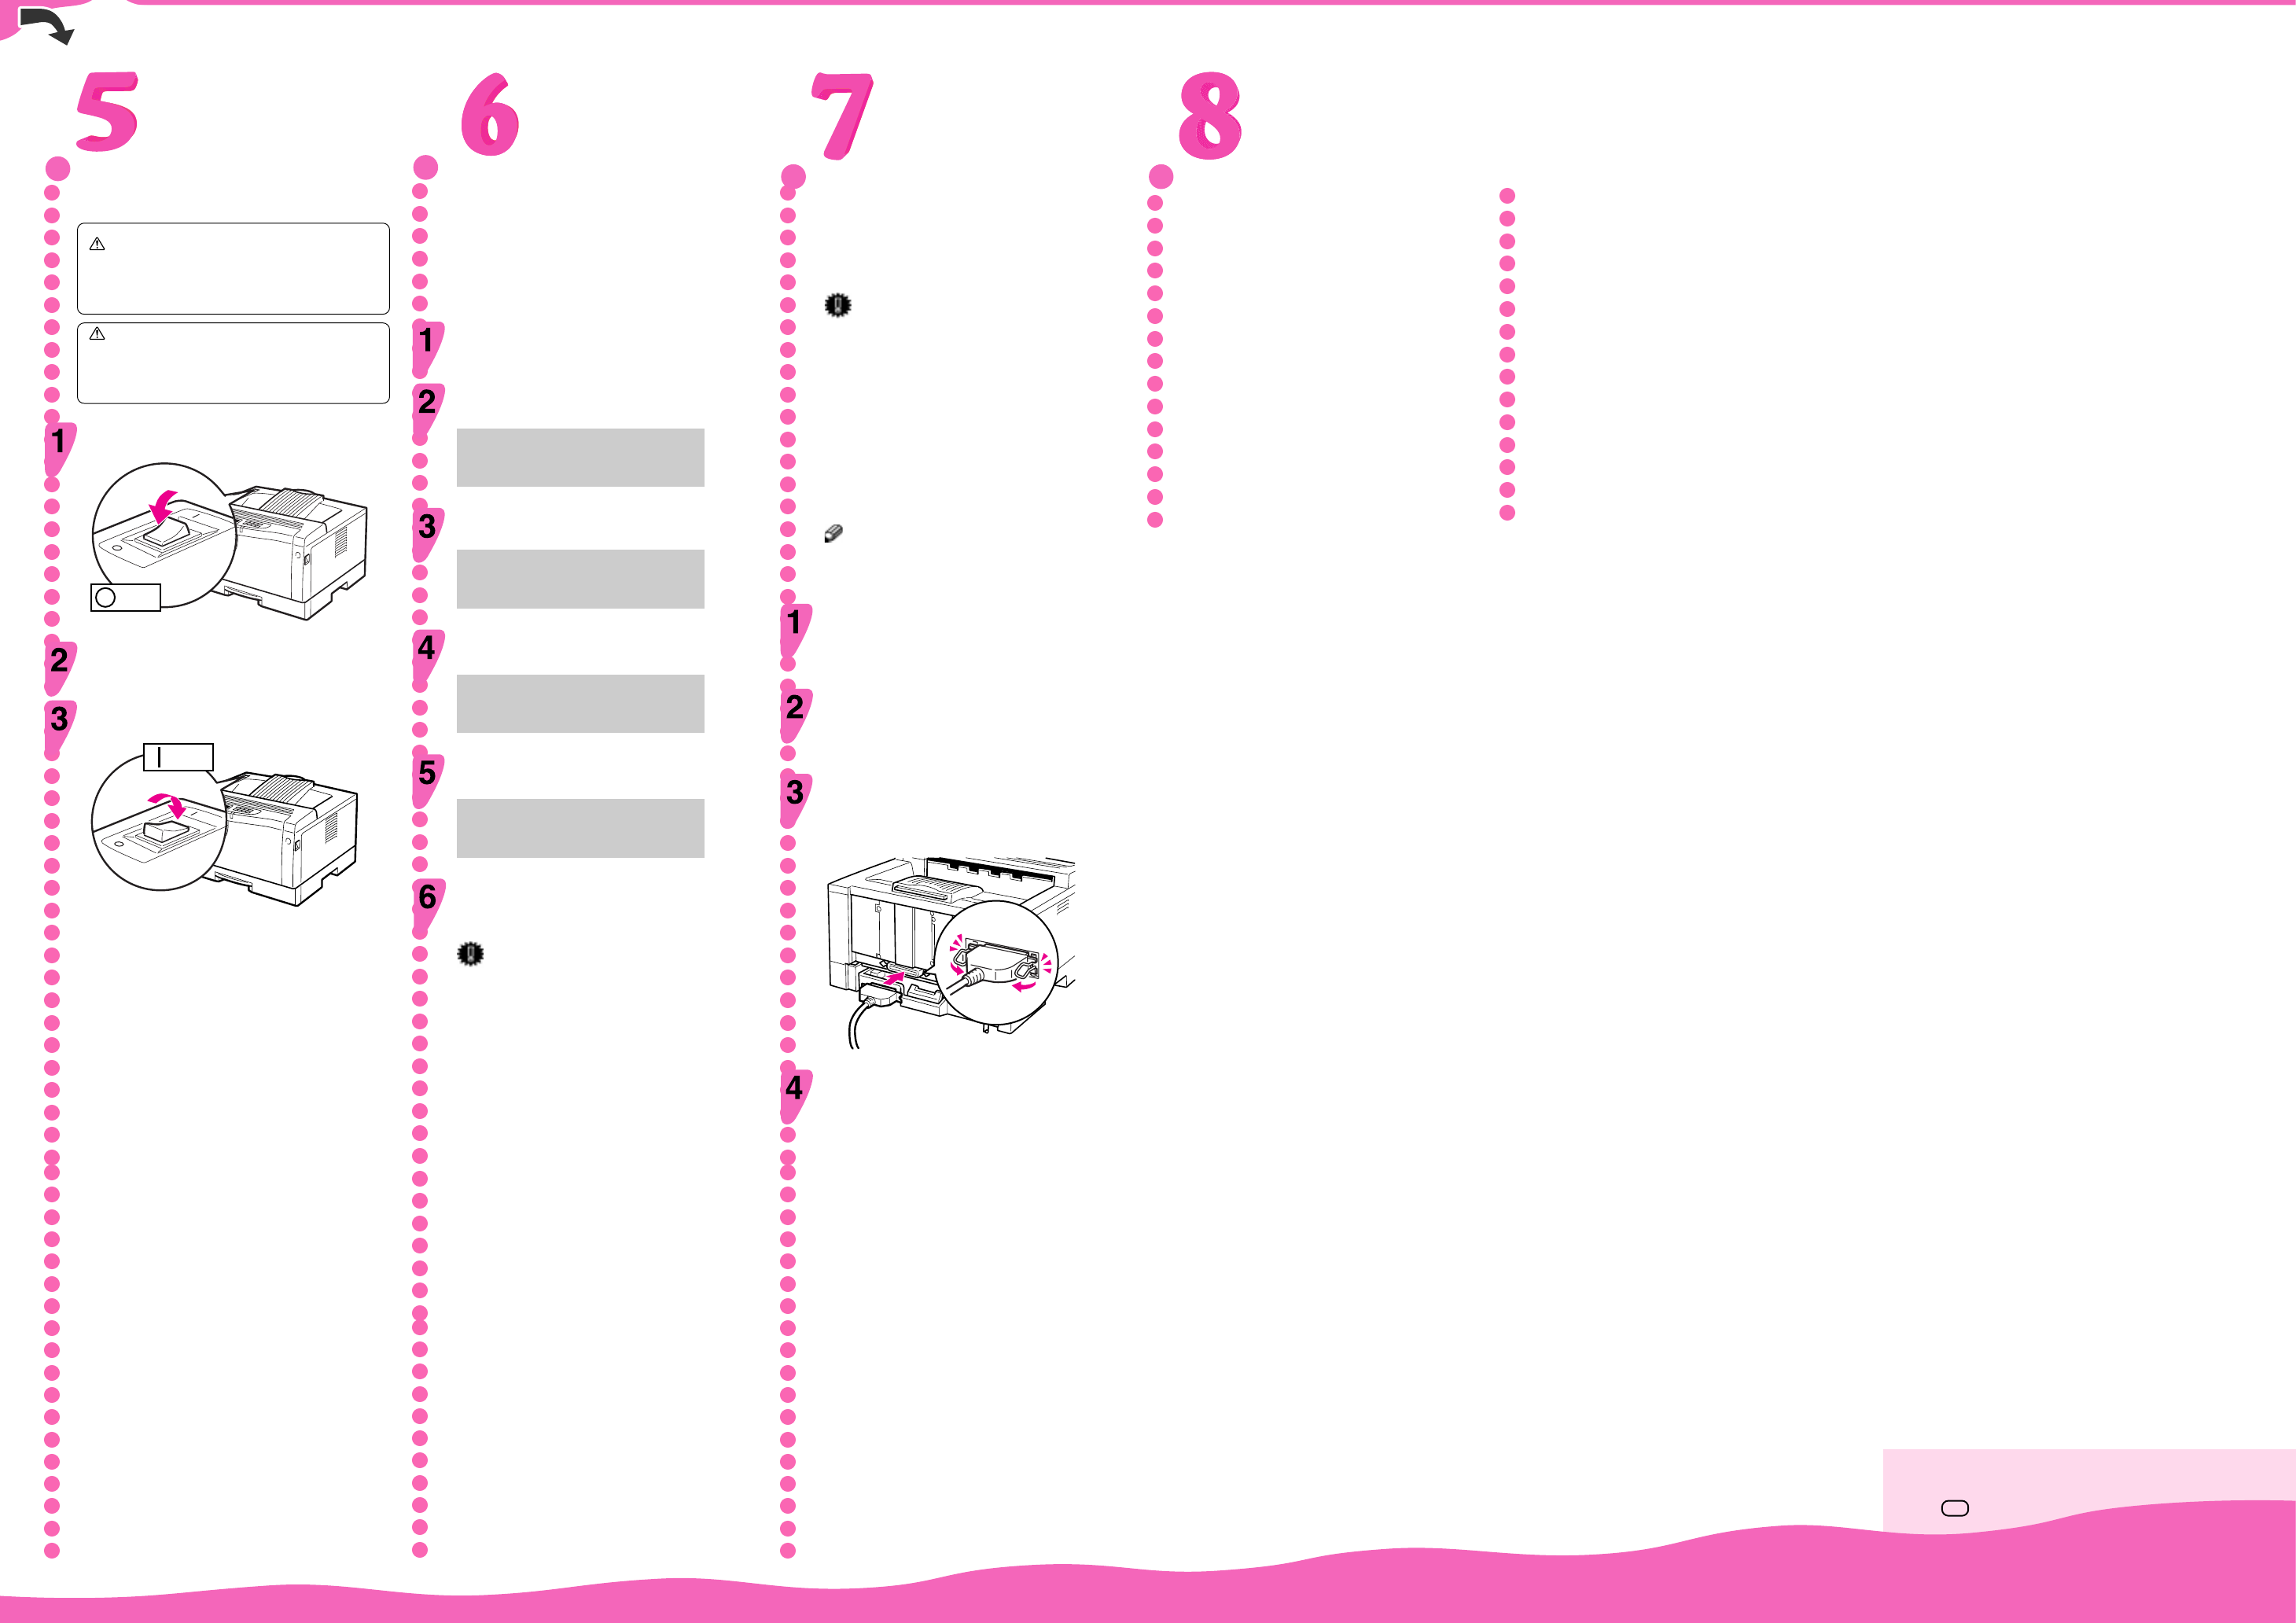
Turn off the printer’s power switch.
Turn your computer off.
Attach the interface cable to the interface
connector of the printer. Secure the cable with
the metal fittings as shown in the illustration.
TS3K180K
Attach the other end of the interface cable to the
interface connector of the computer. Secure the
cable.
PRINTING THE TEST PAGE
You can check if the printer works properly by
printing a test page (configuration page).
However, you cannot check the connection
between the printer and your computer by printing
the test page.
Check that the power switch is turned on.
Press the Menu key.
The following message appears on the panel display.
Main Menu: ▲
Job Control ▼
Press the
▲
▼
keys until the following message
appears on the panel display.
Main Menu: ▲
List Print ▼
Press the Enter key.
The following message appears on the panel display.
List Print: ▲
1.Config. page ▼
Press the Enter key.
The following message appears on the panel display.
Config. page: ▲
Press Enter key
Press the Enter key.
In a short time, the test printing will start.
Important
❒ If you cannot complete the test printing correctly,
check if an error message appears on the panel
display. For more information about error
messages, see “Troubleshooting” in the “Operating
Instructions”.
❒ After installing the new toner cartridge, the first
few pages might be printed with light density. If
density does not become darker, see
“Troubleshooting” in the “Operating Instructions”.
CONNECTING THE POWER
CORD
Caution
•
When you pull the plug out of the socket,
grip the plug to avoid damaging the cord
and causing a fire or an electric shock.
Caution
•
It is dangerous to handle the plug with wet
hands. Doing this may result in receiving an
electric shock.
Check that the power switch is turned off. If it
is on, turn it off.
TS3K140E
o
f
f
o
n
Off
[TS3K140E]
Insert the plug of the power cord into the wall
socket securely.
Turn the power switch on.
TS3K160E
o
f
f
o
n
On


