Replacing the Paper Feed Rollers
7
2
Replacing the Paper Feed Rollers
R
CAUTION:
A
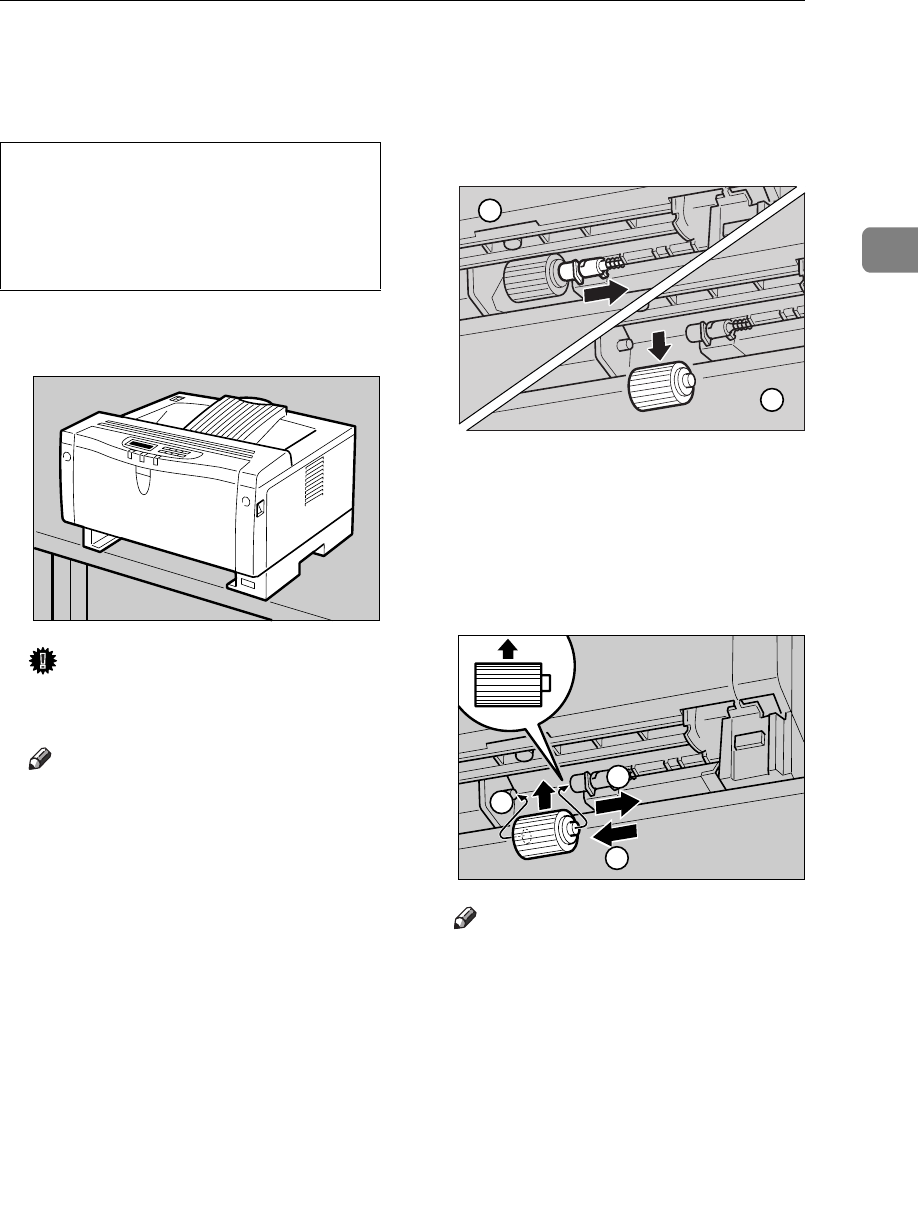
Move the printer to the edge of a
sturdy and stable table or desk.
Important
❒
Do not put the printer on an un-
stable or tilted surface.
Note
❒
If the optional paper feed unit is
equipped with your printer, do
not move the printer and the
unit together as they are not se-
curely attached.
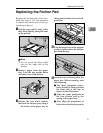
B
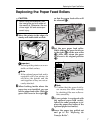
When looking inside where the
paper tray was installed, you can
see the paper feed roller. Slide the
green lock lever to the right (
A
AA
A
),
so that the paper feed roller will
be released (
B
BB
B
).
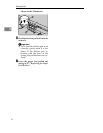
C
Set the new paper feed roller.
While sliding the green lock lever
to the right (
A
AA
A
), set the new roller
(
B
BB
B
). After that, return the green
lock lever to its original position
(
C
CC
C
).
Note
❒
Confirm that the green lock le-
ver secures the roller correctly
by checking if the new roller ro-
tates smoothly.
D
If your printer is equipped with
the optional paper feed unit(s),
follow the same procedure to re-
place the paper feed roller of the
optional paper feed unit(s).
E
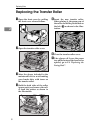
Leave the paper tray pulled out
and go to P.8
“Replacing the
Transfer Roller”
.
•
When lifting the machine, use
the inset grips on both sides of
the machine. Otherwise, the ma-
chine might fall and cause per-
sonal injury.
TS3M130E
TS3M140E
1
2
TS3M150E
1
3
2


