


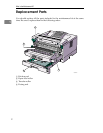


Replacing the Friction Pad
5
2
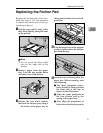
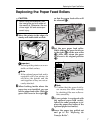
Replacing the Friction Pad
Replace the friction pad of the stan-
dard tray (tray 1). It is not necessary
to replace the friction pad of the op-
tional paper tray(s).
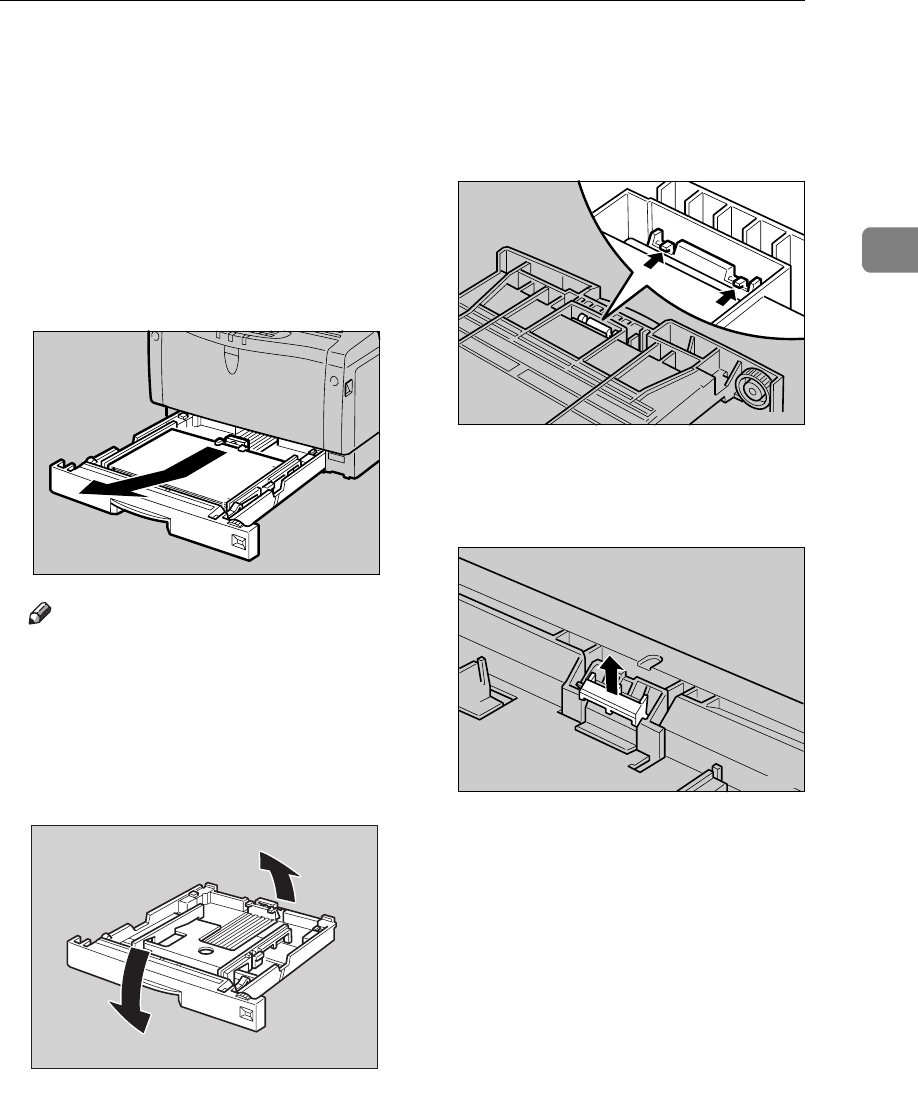
A
Pull the tray until it stops. After
that, lift it slightly, then pull it out
of the printer.
Note
❒
Do not touch the three white
pins on the right side of the
printer.
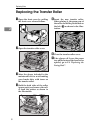
B
Remove paper from the paper
tray. Turn the tray upside down
and place it on a flat surface.
C
Release the two black catches,
that lock the friction pad, using a
sharp-pointed item such as a ball-
point pen.
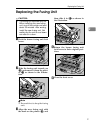
D
Turn the paper tray to the original
position, and remove the friction
pad from the tray.
E
Insert the new friction pad in the
paper tray. When inserting, note
the following:
A
The three triangular projec-
tions should be facing toward
the front side of the tray as
shown in the illustration.
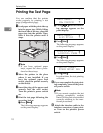
B
Align the center projection of
the new friction pad to the
spring of the paper tray.
C
Also, align the projections of
both sides of the friction pad to
the holes of the paper tray as
TS3M080E
TS3Y090E
TS3M100E
TS3M110E