


Chapter 4 - 2
Before you begin:
Ÿ Verify that you have supervisor privileges on the file servers on which the Network
Interface Board print server is to be entered.
Ÿ Verify that your version of PCONSOLE is later than 1.0.
4.1.1 Start PCONSOLE and Select File Server
Follow these steps to start PCONSOLE:
1. Log in to the network, type PCONSOLE and press the ENTER key.
2. Choose Change Current File Server from the Available Options menu. A list of file
servers is displayed.
3. Select the file server on which you want to install the print server and press the ENTER
key.
If the name of the file server you want is not displayed, press the INSERT key to get a
list of file servers.
4. Log in to the file server.
5. Press the ESC key to return to the Available Options menu.
4.1.2 Create Print Queues
The print server must be assigned to at least one print queue on the file server.
Ÿ If the print queue that you want the <print server> card to service already exists, and you
know the name of this queue, go to 4.1.3 Enter the Print Server Name .
Ÿ If you do not know the name of the queue, or it does not exist, use the following
procedure:
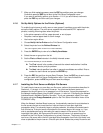
1. Choose Print Queue Information from the Available Options menu, and press the
ENTER key. A list of existing queues is displayed.
2. To create a new queue, press INSERT. Enter the name of the queue and press the
ENTER key. You do not need to enter any more information at this time.
3. Press the ESC key to return to the Available Options menu.
4.1.3 Enter the Print Server Name
A print server takes the print jobs from queues and sends them to the printer. Use this
procedure to specify the name of the print server:
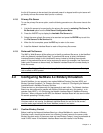
1. Choose Print Server Information from the Available Options menu, and press the
ENTER key.
A list of existing print servers is displayed.
2. Press the INSERT key.
The New Print Server Name box is displayed.
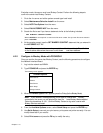
3. Type the name of the print server into the entry box. The Novell print server name is
printed under Novell NetWare information on the status sheet.
Note: If desired, this name can be changed using MAP or Web Browser utilities.