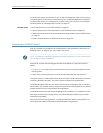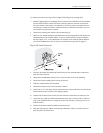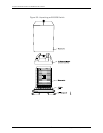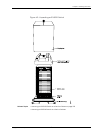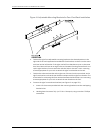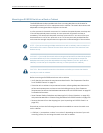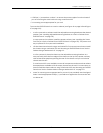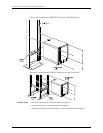
Figure 41: Adjustable Mounting Brackets for Four-Post Rack Installation
6. Position the right front adjustable mounting bracket at the desired position in the
rightsideof therackoppositethe installedleftfrontbracket,sothatitis onthesame
rack level as the left bracket. If the right and left front brackets are not on the same
level,the chassis will rest atan angle in the rack instead of restingflatand level. Line
up the right bracket's front screw holes with the holes in the rack. Use 4 mounting
screws appropriate for your rack to attach the right front bracket to the rack.
7. Position the other rear bracket at the right rear of the rack on the same level as the
right front bracket, so that the rearbracket overlaps with the right front bracket. The
screwholesforconnectingthefrontandrearbracketsshouldoverlap.Use4mounting
screws appropriate for your rack to attach the rear bracket to the rack.
8. Connect the right front and rear brackets (see Figure 41 on page 134):
a. Insert6 of the screwsprovidedwith the mounting bracketsinto the overlapping
bracket holes.
b. Hand tighten the screws fully (to 12–16 in.-lb torque) using a number 2 Phillips
screwdriver.
Copyright ©2010,Juniper Networks,Inc.134
CompleteHardwareGuide forEX8208 EthernetSwitches


