•
Ensure you understand how to prevent ESD damage. See “Prevention of Electrostatic
Discharge Damage on EX Series Switches” on page 292.
Ensure that you have the following parts and tools available to remove a fan tray from
an EX8208 switch chassis:
•
Electrostatic discharge (ESD) grounding strap
•
Replacement fan tray
CAUTION: The fantray can be removed and replaced while the switch is operating.
However,the fan tray must be replaced within 2 minutes of removing the fan trayto
prevent overheating of the chassis.
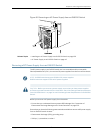
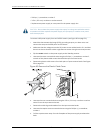
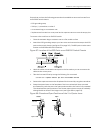
To remove a fan tray from an EX8208 switch chassis (see Figure 84 on page 213):
1. Attach the electrostatic discharge (ESD) grounding strap to your bare wrist, and
connect the strap to the ESD point on the chassis.
2. Pull the spring-loaded latch, located at the base of the fan tray, upwards until the
latch is completely free from the corresponding hole on the strike plate.
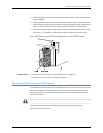
3. Hold the handle of the fan tray with one hand while holding the latch up with the
other. Pull firmly on the handle to slide the fan tray about 5 in. (13 cm) out of the
chassis.
WARNING: There is no fan guard on the fans. Be careful to keep your fingers clearof
the movingfanbladeswhen youare removing the fantray. To avoidinjury,do not touch
the fans with your hands or any tools as you slide the fan tray out of the chassis—the
fans might still be spinning.
4. Wait for approximately 15 seconds to allow all the fans to stop spinning.
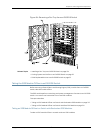
5. Release the latch and use that hand to support the weight of the fan tray. Slide the
fan tray completely out of the chassis.
Copyright ©2010,Juniper Networks,Inc.212
CompleteHardwareGuide forEX8208 EthernetSwitches


