NetWare Configuration
64
5
E
EE
E
Click the IP address of the Network Interface Board which is to be config-
ured, and then click [Next >].
Note
❒ If you do not know which Network Interface Board you are configuring,
see the network configuration page to check the MAC address (Network
Address).
F
FF
F
Make sure that the MAC address and IP address are correct, and then click
[Finish].
The [NIB Setup Tool] window appears.
G
GG
G
Click [Configure].
The property sheet appears.
H
HH
H
Click the [General] tab, and then type the name of the print server into the
[Device Name:] box.
I
II
I
Click the [NetWare] tab, and then make the following settings.
A In the [Print Server Name:] box, type the name of the print server.
B In the [File Server Name:] box, type the name of the file server in which a
print server is to be created.
Clicking [Browse], you can select a file server among those listed in the
[Browse File Server] dialog box.
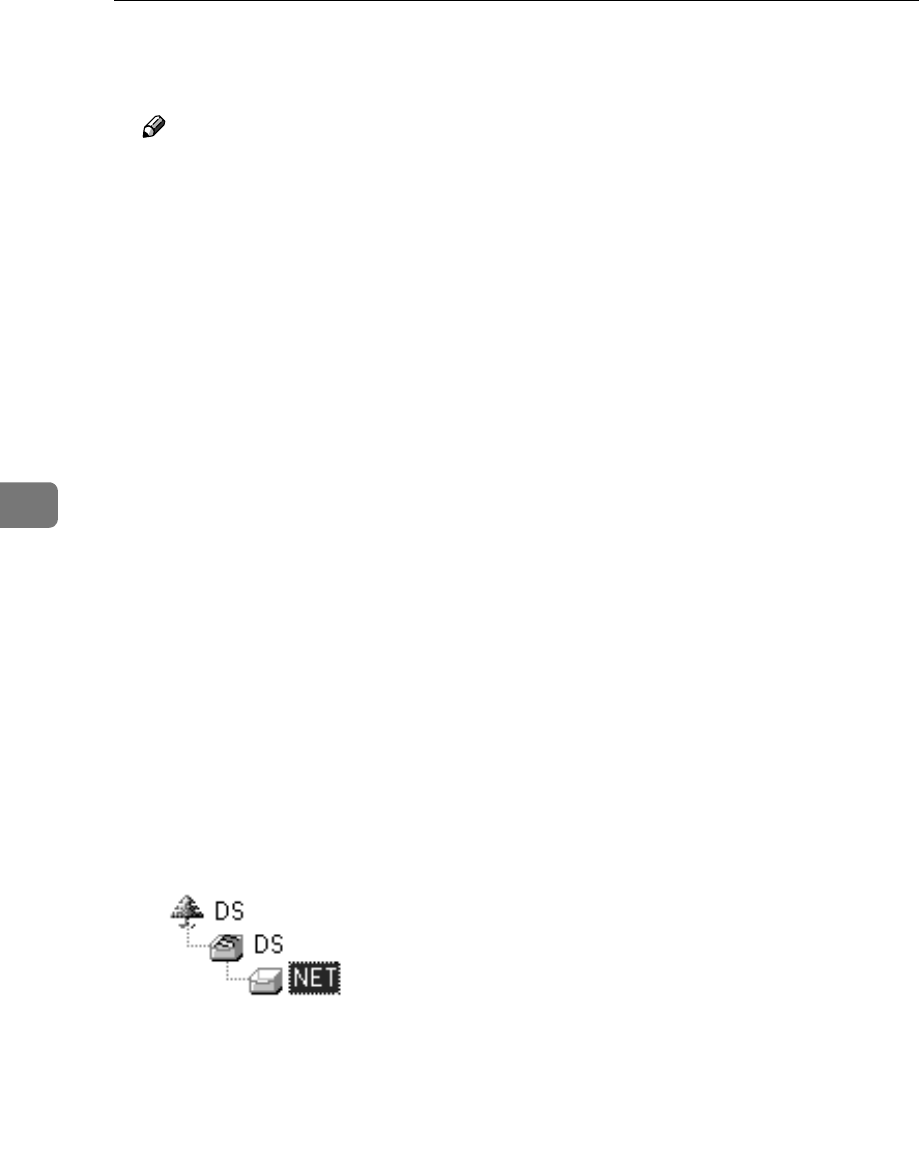
C In the [NDS Context:] box, type the context of the print server.
Clicking [Browse], you can select an NDS tree and an NDS context among
those listed in the [Browse Context] dialog box.
As a context, object names are typed from a lower object and divided by a
period. For example, if you want to create a print server into NET under
DS, type “NET.DS”.
D In the [Print Server Operation Mode] group, click [As Print Server].
E Click [OK] to close the property sheet.
F After the confirmation dialog box appears, click [OK].
J
JJ
J
On the [NIB] menu, click [Exit] to exit the NIB Setup Tool.
After this step, go to step
K
on p.61 “Setting Up as a Print Server”.


