Installation 75
Setting Up the KVM/net
When ordering the KVM/net, customers also order one KVM Terminator for
each server to be connected to one of the KVM ports. The number and types
of KVM Terminators in each order are based on the number of KVM ports on
the KVM/net model that is being shipped and on the types of servers that are
to be connected to the KVM ports. For details, see “KVM Terminator Usage
and Types” on page 58.
Note: For more information about cabling, see “RS-232 Cabling Tutorial” at http://
www.cyclades.com/resources.” For ordering information, see “Cyclades
Product Guide,” available at: http://www.cyclades.com/common/www/pdf/
catalog.en.pdf.
Setting Up the KVM/net
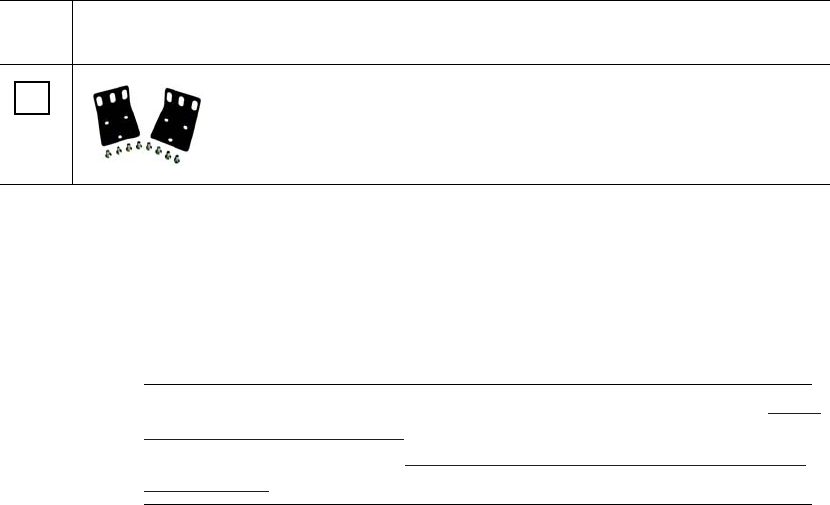
You can mount the KVM/net on a rack or place it on a desktop or other flat
surface. Two brackets are supplied with sixPhillips screws for attaching the
brackets to the KVM/net for mounting.
• If you are not mounting the KVM/net, place the KVM/net on a desk or
table.
• If you are mounting the KVM/net, obtain a Phillips screwdriver and
appropriate nuts and bolts before starting the following procedure.
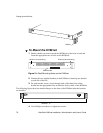
The following graphics depict the orientation of the brackets for front
mounting the KVM/net.
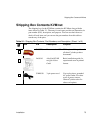
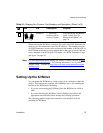
HAR0220 2 - Mounting
brackets with 8 -
screws (2 spares
Use to mount the KVM/net to
a rack or wall. See “To
Mount the KVM/net” on
page 76.
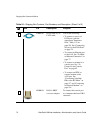
Table 2-1: Shipping Box Contents, Part Numbers, and Description (Sheet 3 of 3)
5
Item P/N Description Purpose


