


Chapter 7 Kerio Synchronization Plug-in
296
7.3 SSL-secured synchronization
To enable smooth connection over SSL, it is necessary to install a trustworthy certificate on the
client station (the Kerio MailServer’s self-signed certificate can also be used for this purpose):
1. Run Internet Explorer and specify the corresponding URL to login to Kerio WebMail. SSL-
secured protocol must be used for the connection to the server. This implies that the URL
should start with https:// (example: https://mail.company.com/).
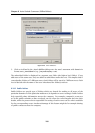
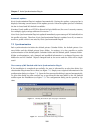
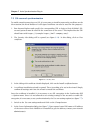
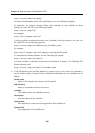
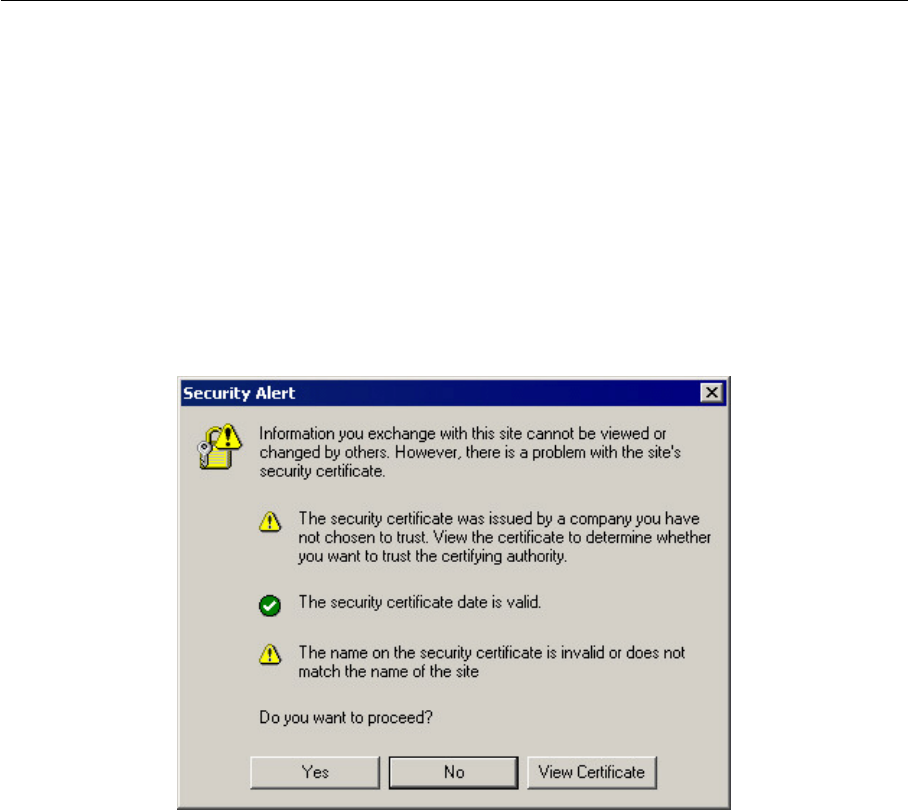
2. The Security Alert dialog will be opened (see figure 6.14). In this dialog, click on View
certificate.
Figure 7.6 Security Alert
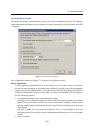
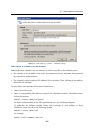
3. In the dialog with certificate details displayed, click on the Install certificate button.
4. A certificate installation wizard is opened. There is nothing to be set in the wizard. Simply
confirm all settings and close the wizard to install the certificate.
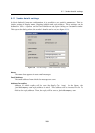
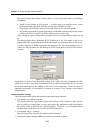
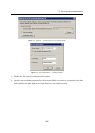
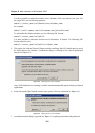
Once the certificate is installed, it is necessary to set SSL encryption in the Synchronize KSP
→ Options menu. Since it is not allowed to use existing settings of the account to enable SSL
encryption, it is necessary to set synchronization by the Use own settings option (see figure
7.7):
1. Switch to the Use own settings mode and click on the Change button.
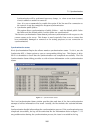
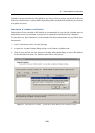
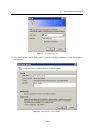
2. In the Server Information dialog (see figure 7.8) just opened enter DNS name or IP address
of the server where Kerio MailServer is installed (to get the address, contact your network
administrator).