Chapter 38 Anti-Spam
ZyWALL USG 300 User’s Guide
685
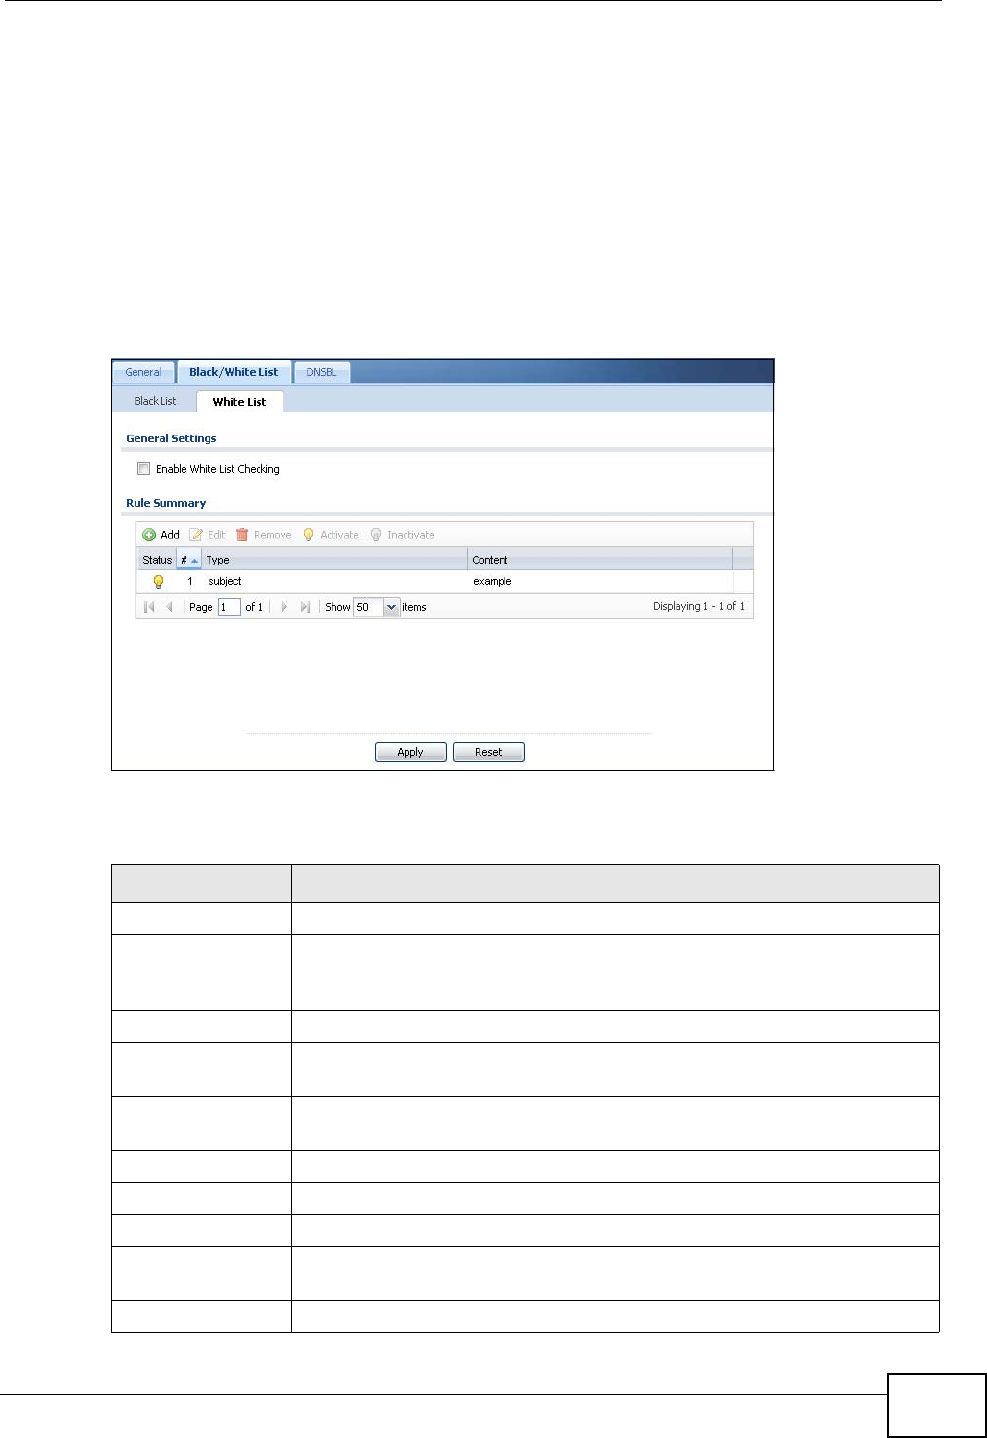
38.5 The Anti-Spam White List Screen
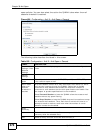
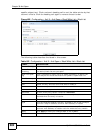
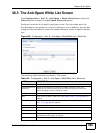
Click Configuration > Anti-X > Anti-Spam > Black/White List and then the
White List tab to display the Anti-Spam White List screen.
Configure the white list to identify legitimate e-mail. You can create white list
entries based on the sender’s or relay’s IP address or e-mail address. You can also
create entries that check for particular header fields and values or specific subject
text.
Figure 468 Configuration > Anti-X > Anti-Spam > Black/White List > White List
The following table describes the labels in this screen.
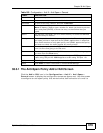
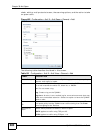
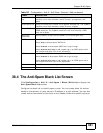
Table 184 Configuration > Anti-X > Anti-Spam > Black/White List > White List
LABEL DESCRIPTION
General Settings
Enable White List
Checking
Select this check box to have the ZyWALL forward e-mail that
matches (an active) white list entry without doing any more anti-
spam checking on that individual e-mail.
Rule Summary
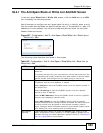
Add Click this to create a new entry. See Section 38.4.1 on page 683 for
details.
Edit Select an entry and click this to be able to modify it. See Section
38.4.1 on page 683 for details.
Remove Select an entry and click this to delete it.
Activate To turn on an entry, select it and click Activate.
Inactivate To turn off an entry, select it and click Inactivate.
Status The activate (light bulb) icon is lit when the entry is active and
dimmed when the entry is inactive.
# This is the entry’s index number in the list.


