


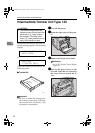
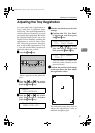
Adjusting the Image Density
49
4
Adjusting the Image Density
Adjust the image density when the
print side of the page is shaded or the
print image looks patchy.
Important
❒ Extreme settings may create out-
put that appears dirty.
❒ Image density settings should be
made from the application or the
printer driver whenever possible.
Note
❒ Changing the image density set-
ting might cause a deterioration of
color balance. We recommend that
you leave the image density at its
factory default setting.
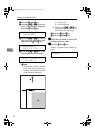
A
AA
A
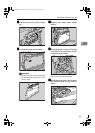
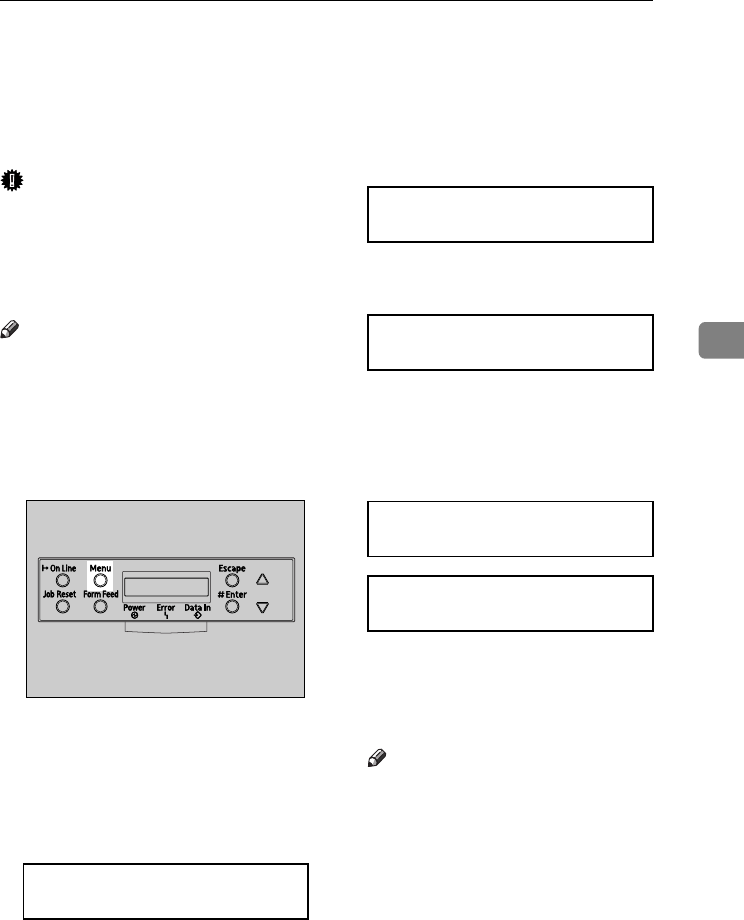
Press the {
{{
{Menu}
}}
} key.
"Menu" appears on the panel dis-
play.
B
BB
B
Press the {
{{
{U
UU
U}
}}
} or {
{{
{T
TT
T}
}}
} key to dis-
play "Maintenance", and then
press the {
{{
{Enter #}
}}
} key.
C
CC
C
Press the {
{{
{U
UU
U}
}}
} or {
{{
{T
TT
T}
}}
} key to dis-
play "Image Density", and then
press the {
{{
{Enter #}
}}
} key.
The following message appears on
the panel display.
D
DD
D
Press the {
{{
{Enter #}
}}
} key.
The following message appears on
the panel display, and then press
the {
{{
{Enter #}
}}
} key.
E
EE
E
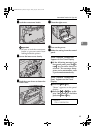
Compare the colors on the printed
image density test sheet with
those on the Image Density Ad-
justing Card.
Note
❒ If the image density of the Im-
age Density Adjusting Card is
equal to the framed part of the
test sheet, you do not need to
adjust the image density value.
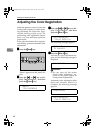
Menu:
Maintenance
ZHBS010E
Maintenance:
Image Density
Image Density:
Prt. Test Sheet
Prt.Test Sheet:
Press # to Start
Printing
AresPGBMaintGuide-F_FM.book Page 49 Friday, July 26, 2002 5:17 PM