


5-65
Cisco MGX 8800/8900 Series Hardware Installation Guide
Releases 2 - 5.2, Part Number OL-4545-01, Rev. H0, May 2006
Chapter 5 Installing the Cisco MGX Switch or Gateway
Installing the MGX 8950 Switch
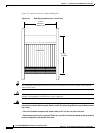
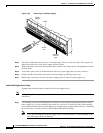
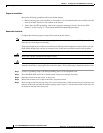
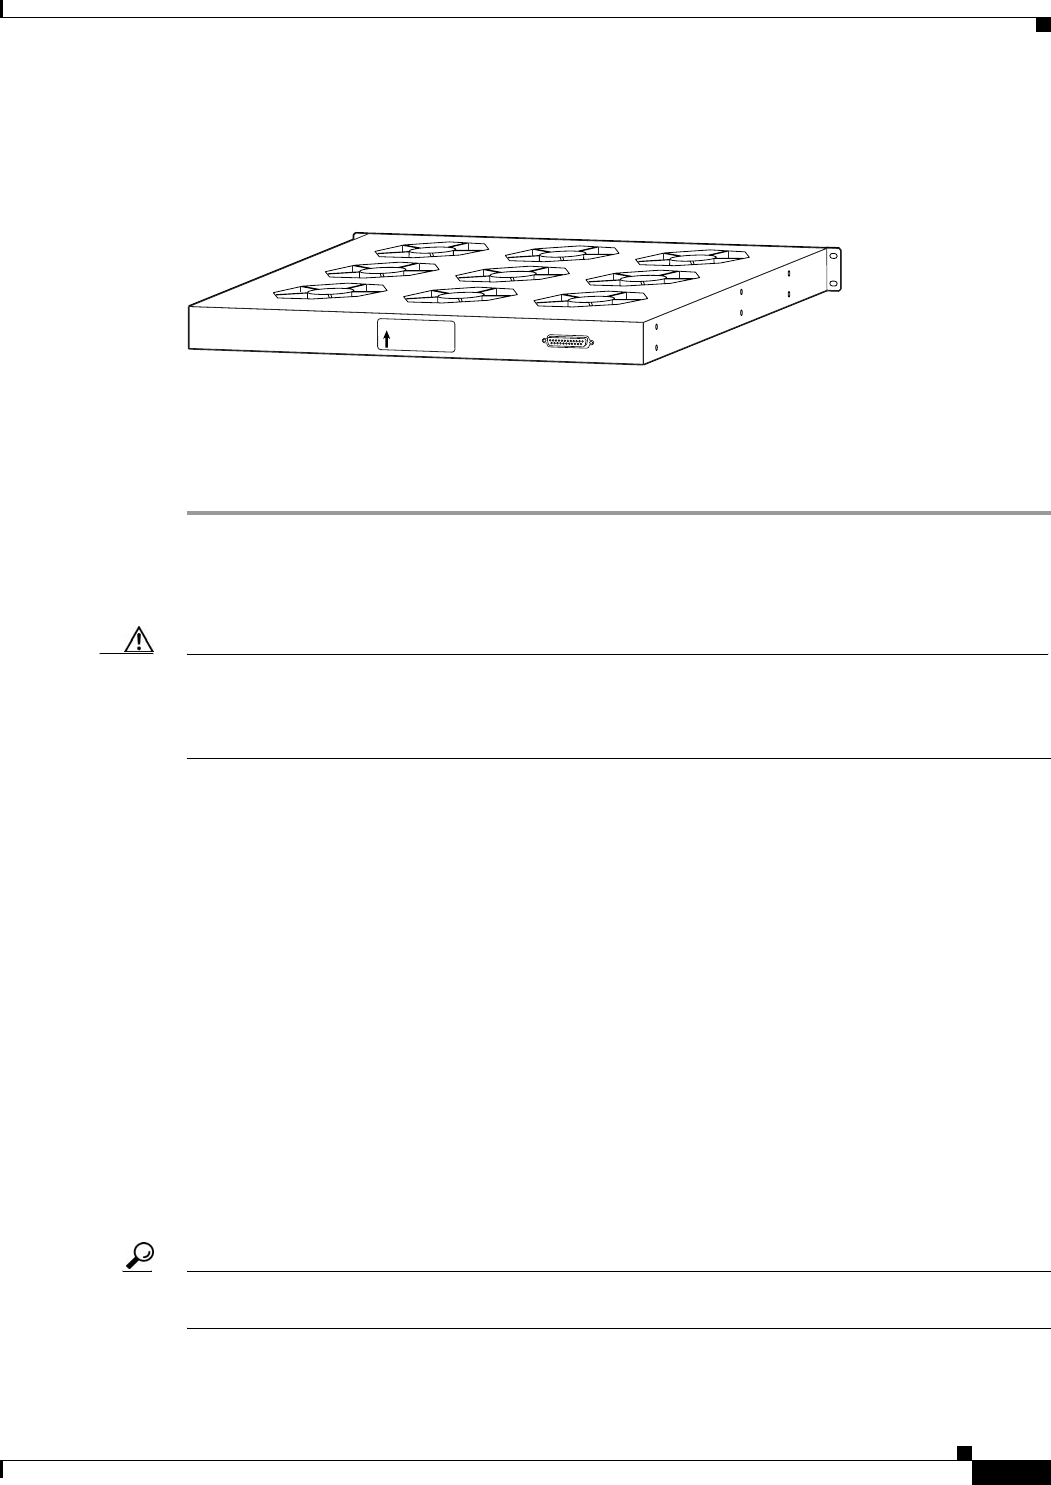
Ensure that the air flow direction arrow on the back of the lower fan tray is pointing up, as shown in
Figure 5-40.
Figure 5-40 Lower Fan Tray Air Flow Direction
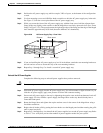
Step 3
Use four mounting screws and a Phillips-head screwdriver to bolt the lower fan tray in the rack. See
Figure 5-5 for the correct placement of the lower fan tray.
Step 4 If you are installing the fan tray in a 19-inch cabinet, attach the rear-mounting brackets to the rack and
use screws to secure the fan tray to the rear-mounting brackets.
Install the MGX 8950 Switch without a Mechanical Lift
Caution Because of the risk of damage to the cards, modules, and backplane, it is strongly recommended that a
mechanical lift be used. Using a lift greatly simplifies the installation and reduces the risk of damage.
See “Install the MGX 8950 Switch with a Mechanical Lift” section on page 5-74 for more information
about installing the MGX 8950 switch with a mechanical lift.
If a mechanical lift is not available for installation, the switch must be manually lifted into place. Since
the switch is shipped with all components preinstalled, you must remove the cards and modules from the
switch so that you can lift it into the rack.
The following sections contain instructions for installing a switch without the use of a mechanical lift:
• “Prepare for Installation” section on page 5-66
• “Remove the Front Cards” section on page 5-66
• “Remove the Back Cards” section on page 5-67
• “Remove the Back Cards from an APS Assembly” section on page 5-67
• “Install the Switch in the Rack” section on page 5-68
• “Install the Switch in a 19-Inch or 23-Inch Rack” section on page 5-69
• “Install the Switch in a 19-Inch Cabinet” section on page 5-69
• “Reinstall the APS Assembly” section on page 5-69
• “Reinstall the Back Cards” section on page 5-71
• “Reinstall the Front Cards” section on page 5-73
Tip If a component requires more than two screws for installation in the rack or cabinet, install the two
bottom screws first.
66951
UP
AIR FLOW
DIRECTION