


4-14
Cisco ASR 1000 Series Aggregation Services Routers Hardware Installation and Initial Configuration Guide
OL-13208-03
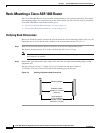
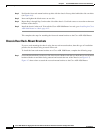
Chapter 4 Cisco ASR 1006 Router Overview and Installation
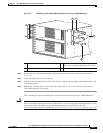
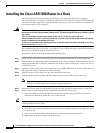
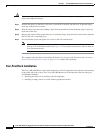
Installing the Cisco ASR 1006 Router in a Rack
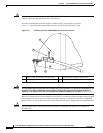
Caution If you are using a two-post rack secure the rack to the floor surface to prevent tipping and avoid bodily
injury and component damage.
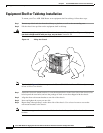
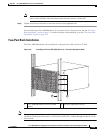
Step 1 Position the chassis so the front is closest to you and lift it carefully into the rack. To prevent injury,
avoid any sudden twists or moves.
Step 2 Slide the chassis into the rack, pushing it back until the brackets meet the mounting strips or posts on
both sides of the rack.
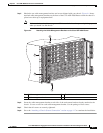
Step 3 Keeping the brackets flush against the posts or mounting strips, align the holes in the brackets with the
holes on the rack or mounting strip.
Step 4 For each bracket, insert and tighten two screws to the rack on both sides.
Note Use the third hole up from the bottom of the rack-mount bracket and the third hole down from
the top of the rack-mount bracket. See
Figure 4-10 for position and location of the ear holes on
the rack-mount bracket.
This completes the procedure for installing the chassis in a two-post rack. Proceed to the “Attaching a
Chassis Ground Connection” section on page 4-17 to continue the installation.
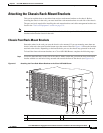
Four-Post Rack Installation
The Cisco ASR 1006 Router can be flush-mounted in a 19-inch equipment rack using the rack-mounting
kit provided with your system. The Cisco ASR 1006 Router can be mounted into the rack using two
recommended methods:
• Installing the chassis in an existing rack with equipment.
• Installing an empty chassis in a rack with no equipment installed.