


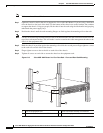

6-19
Cisco ASR 1000 Series Aggregation Services Routers Hardware Installation and Initial Configuration Guide
OL-13208-03
Chapter 6 Cisco ASR 1002 Router Overview and Installation
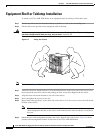
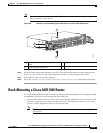
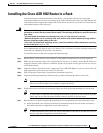
Installing the Cisco ASR 1002 Router in a Rack
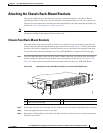
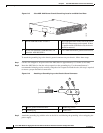
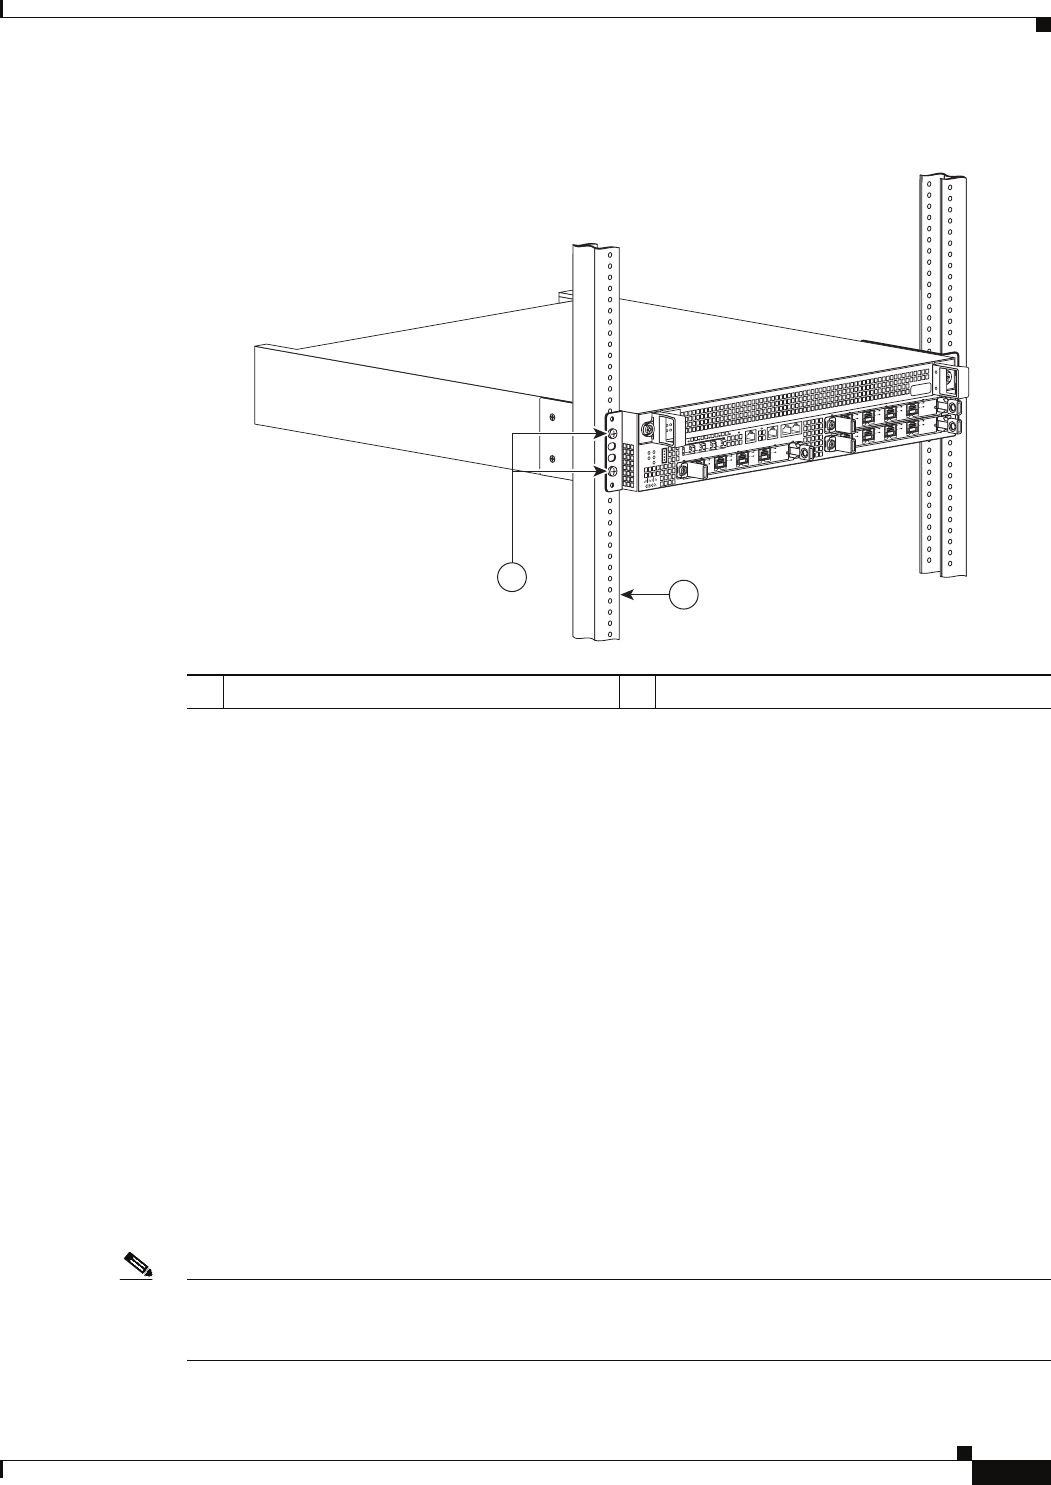
Figure 6-12 Attaching the Rear Rack-Mount Brackets to the Cisco ASR 1002 Router
Step 2 Slide the chassis into the rack, pushing it back until the brackets meet the mounting strips or posts on
both sides of the rack.
Step 3 Keeping the brackets flush against the posts or mounting strips, align the holes in the brackets with the
holes on the rack or mounting strip.
Step 4 For each bracket, insert and tighten two screws to the rack on both sides.
This completes the procedure for installing the chassis in a two-post rack. Proceed to the “Attaching a
Chassis Ground Connection” section on page 6-23 to continue the installation.
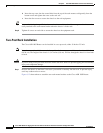
Four-Post Rack Installation
The Cisco ASR 1002 Router can be flush-mounted in a 19-inch equipment rack using the rack-mounting
kit provided with your system. The Cisco ASR 1002 Router can be mounted into the rack using two
recommended methods:
• Installing the chassis in an existing rack with equipment.
• Installing an empty chassis in a rack with no equipment installed.
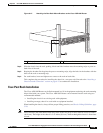
When handling the chassis, always follow proper lifting practices, see Chassis-Lifting Guidelines, page
3-20.
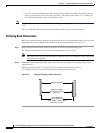
Note Inner clearance (the width between the inner sides of the two posts or rails) must be at least 19 inches
(48.26
cm). The height of the chassis is 3.47 inches (8.8 cm). Airflow through the chassis is from front
to back.
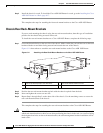
1 Rack equipment rail 2 Rack-mount bracket ear and holes
280282
A
S
R
1
0
0
2
s
tat
p
w
r
mi
n
m
aj
crit
S
P
A-
4
XOC
3-
P
O
S
ST
A
T
U
S
0
1
2
3
C
/
A
A
/L
C
/
A
A
/
L
C
/
A
A
/L
C
/
A
A
/L
S
P
A-
4
XOC
3
-
P
O
S
S
T
A
TU
S
0
1
2
3
C
/
A
A
/L
C
/
A
A
/L
C
/
A
A
/L
C
/
A
A
/L
S
P
A
-
4
X
O
C
3-
P
O
S
S
T
A
T
U
S
0
1
2
3
C
/
A
A
/
L
C
/
A
A
/
L
C
/
A
A
/
L
C
/
A
A
/
L
1
2