


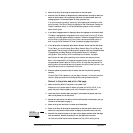

Reinstalling the Fiery X2-W
This is the procedure for replacing a Fiery X2-W at a customer site. It is assumed that you have contact with a system
administrator who will supervise the installation and the network setup.
Before you begin
Make sure you are familiar with the following before you attempt to reinstall the
Fiery X2-W:
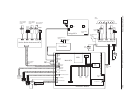
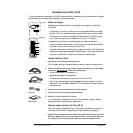
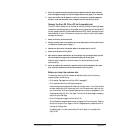
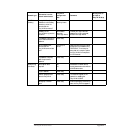
•The operation of the Control Panel on the front panel (see left above)—
a
. display
window (LCD),
b
. line selection buttons,
c
.up and down button,
d
. menu button
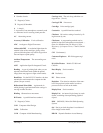
•The location of connectors on the back panel (see left below)—
e
. SCSI interface
port,
f
. parallel port,
g
. printer interface port,
h
. AUI port,
i
. RJ-45 port
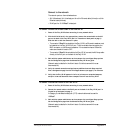
It is essential that you perform the following before you begin reinstallation:
•Contact the network administrator or your contact at the customer site and advise
that person of your intent to reinstall the Fiery X2-W.
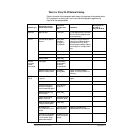
•If possible, have a copy of the Configuration page from the Fiery X2-W that is being
replaced for network settings needed for the reinstallation. If not, use the checklist at
the end of this document to obtain the information for network setup.
Unpack the Fiery X2-W
1. Open the box and remove any packing materials.
Do not discard the original boxes and packing materials—leave at the customer site.
2. Remove the contents from the top container. Inspect the contents for visible damage.
The contents may or may not include the following items:
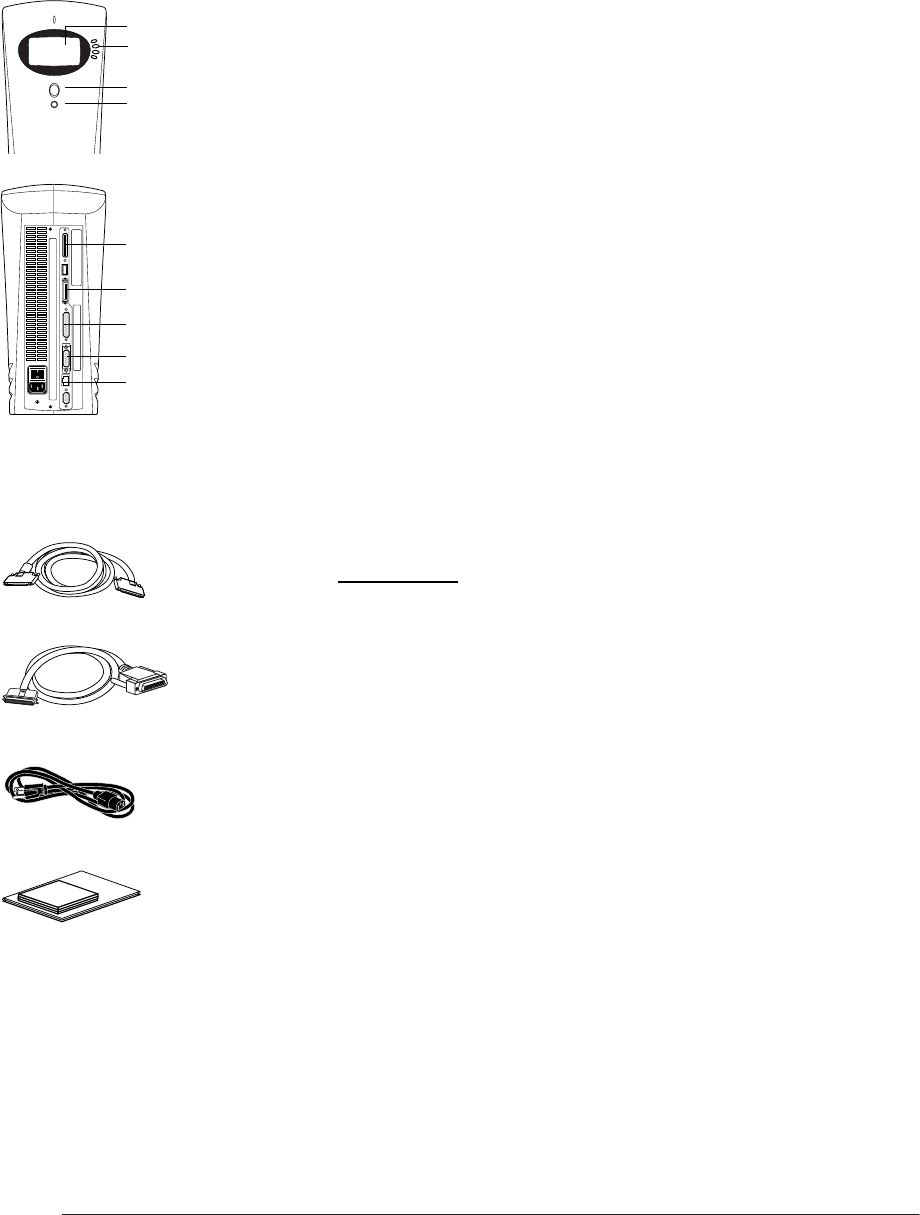
•Printer interface cable in the accessory kit
•Bag containing a parallel interface cable
•The power cable is shipped with the printer, not the Fiery X2-W.
•Fiery X2-W media package (includes a package of user documentation, the User
Software CD, and the System Software CD). If a media pack is included, leave it at
the customer site
3. Set aside the remaining components from the top container.
4. Remove the top container and any packing materials.
5. Carefully lift the Fiery X2-W out of the box.
If you notice shipping damage to any Fiery X2-W component, be sure to save the
shipping container in case the carrier needs to see it.
Connect power and start the Fiery X2-W
When you have just unpacked the Fiery X2-W, power it on before you connect it to
the printer and the network. Diagnostics are run automatically during startup.
1. Connect the recessed end of the power cable to the power connector on the Fiery X2-W
back panel. Make sure that the Fiery X2-W power switch is in the Off position (press
O), and plug the other end of the power cable into a grounded electrical outlet.
b
c
a
d
Front panel
e
f
g
h
i
Back panel
Printer interface cable
Power cable
Media package
Parallel interface cable
Appendix-2
HP DesignJet CP Series Printers