Control Procedures
System Menu
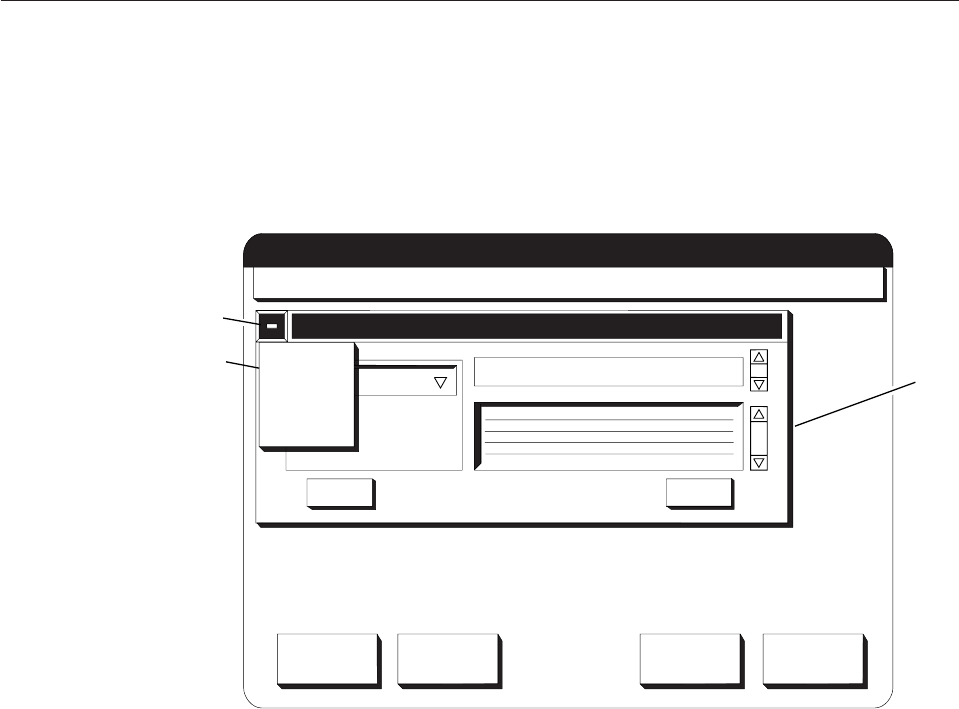
The System Menu Symbol (1) is a horizontal line within a pushbutton on the left
side of the Title Bar on all procedure windows (2). When you select this symbol, a
pull-down menu (3) appears directly under the symbol.
There are three actions on the pull-down menu from which you can choose:
Switch to...
Displays a pop-up window that lists all of the procedures that are
currently open (for example, see (4) on Figure 9 on page 40). Selecting any
procedure name from the list moves the window for the procedure to the
front.
Print Screen
Prints the screen if all installed host attachments are disabled.
Close Closes the procedure (the same as if you had selected the Close on the
procedure window).
Multiple Procedures
You can have any number of procedures active at one time. However, only five
procedures can appear on the Display Touch Screen at one time. To switch back and
forth between the procedures on the Display Touch Screen, select the title bar of
the procedure you want. If there are more than five procedures that are active, you
can still use the procedures that have been pushed off the display. Do this by
selecting the Switch to... option from the System Menu pull-down menu.
In duplex or simplex mode, multiple copies of the same procedure cannot run at
the same time. Once a procedure is started, the menu bar item that started the
Operate
Configure
Analyze Options Help
Check Reset
NPRO Cancel Job
Ready
Attachments
Messages
Reset
Counter
Help
Printer Status
Parallel ChannelA: Disabled
Parallel ChannelB: Disabled
Printer Error: D205
No Attachments Enabled
Printer 1 Counter: 135 Feet
Printer 2 Counter: 4 Feet
Reset Counter : 135 Feet
Switch To...
Print Screen
Close
HC6OG087
3
1
2
Figure 8. System Menu Symbol - Pull-Down Menu
Chapter 4. Using the Display Touch Screen 39
