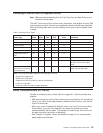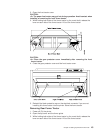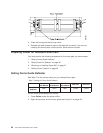
2. Open the front tractor cover.
CAUTION:
<3> The paper feed motor may get hot during operation. Avoid contact when
installing or removing the front forms tractor.
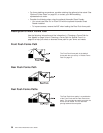
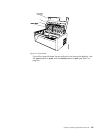
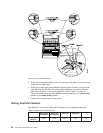
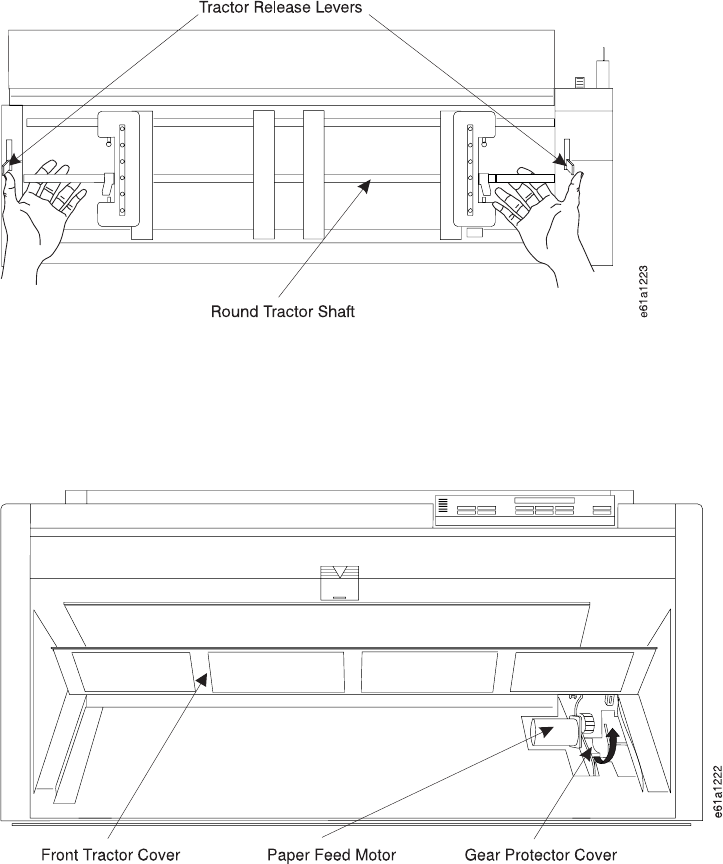
3. While holding both sides of the forms tractor by the round shaft, release the
lever on each side of the forms tractor. Lift out the forms tractor.
CAUTION:
<4> Close the gear protector cover immediately after removing the front
forms tractor.
4. Close the gear protector cover and the front tractor cover.
5. Reinstall the black protective cap on the electrical connector if you are not
installing this forms tractor into the printer. Store the forms tractor.
Removing Rear Forms Tractor
1. Power off (O) the printer.
2. Open the top cover and the forms guide.
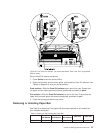
3. While holding both sides of the forms tractor by the round shaft, release the
lever on each side of the forms tractor. Lift out the forms tractor.
Chapter 3. Setting Up Another Forms Path 43


