9-28 Avaya P550R, P580, P880, and P882 Multiservice Switch User Guide, v5.3.1
Chapter
Activating Access Lists
You can activate access lists on the switch through the Web Agent
and the CLI.
Activating
Access Lists
Using the Web
Agent
To activate an access list using the Web Agent:
* Note: Before you can activate an access list, you must first
configure the access lists. For information about
configuring access lists, refer to “Access Lists (also called
Access Control Lists or ACLs)” earlier in this chapter.
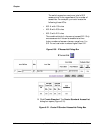
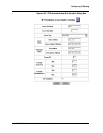
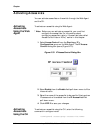
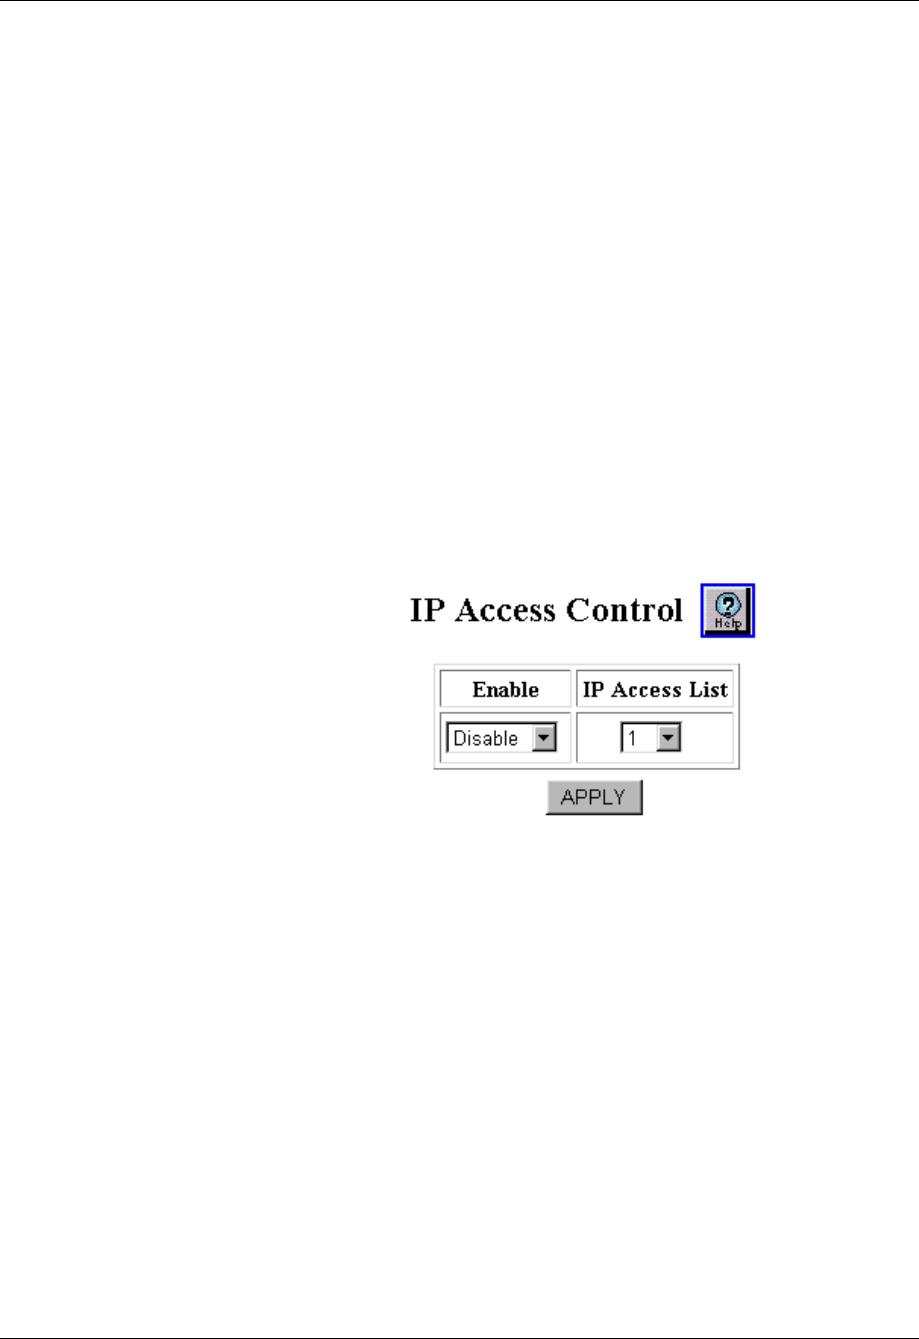
1. Select Access Control from the Routing > IP >
Configuration group on the Web Agent. The IP Access
Control dialog box opens (Figure 9-10).
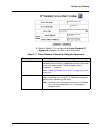
Figure 6-33. IP Access Control Dialog Box
2. Select Enable from the Enable field pull-down menu to filter
inbound traffic.
3. Select the name of the access list to be used for filtering when
IP access control is enabled from the IP Access List field
pull-down menu.
4. Click APPLY to save your changes.
Activating
Access Lists
Using the CLI
To activate an access list using the CLI, enter the following
command in configure mode:
<configure># access-group <access-list-name>


