


06_TAManageJobs.fm Modified: 8/7/02
Template Version 1.0
206 GL-1020 Operator’s Guide (Basic)
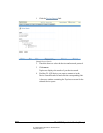
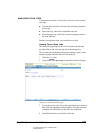
Releasing Proof and Scheduled Jobs
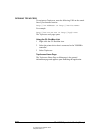
1Click the
Print Jobs tab.
2 Select the Proof or Scheduled jobs.
For Scheduled jobs, TopAccess displays the date the job is
scheduled to print in the Status column.
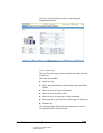
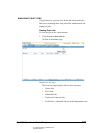
3 Scroll down the list to locate the job.
4 Check the box next to the job you want to print.
To release all jobs, click the check-all button in the header.
Clicking this button again clears all the check marks.
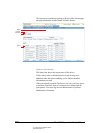
5Click
Release to print the selected job(s).
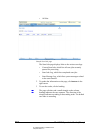
After you release the job, monitor its status using the Current
jobs list.
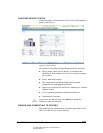
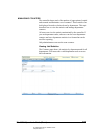
Print Job Administration
It is a good idea to perform regular maintenance tasks, such as
resetting the counter, backing up and restoring the address book
and scan templates, or deleting files stored on the controller.
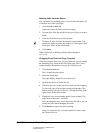
For information about how to reset job counters, see Resetting
Scan Counters on page 211.