EPSON Stylus Pro 7600/9600 Revision A
Disassembly & Assembly Removing the Panel Unit and Housing 165
4.2.5 H Top Cover
1.
Remove the R Side Cover. (p.160)
2.
Remove the L Side Cover. (p.163)
3.
Remove the I/H Cover. (p.164)
4. Open the Front Cover.
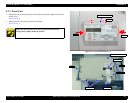
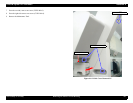
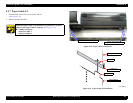
5. From the left side, remove one screw (CUPS: M4
×
8).
(See Figure 4-14)
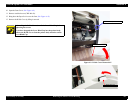
6. Remove the screw (CUPS: M4
×
8) at the front left of the printer.
7. Remove the screw (CUPS: M4
×
8) at the front right of the printer.
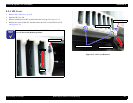
8. From the right side, remove one screw (CUPS: M4
×
8).
(See Figure 4-15)
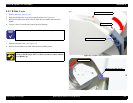
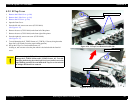
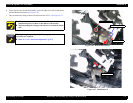
9. To avoid damaging the P_THICK Sensor or P_THICK_0.3 Sensor, bring down the
Paper Set Lever toward you (to the paper holding position).
10. Pull up the H Top Cover rearward and remove it.
In doing so, take care not to lose the plate which is also locked with the front left
screw.
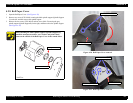
Figure 4-14. H Top Cover Removal on left side
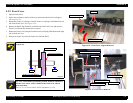
Figure 4-15. H Top Cover Removal on right side
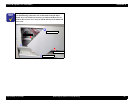
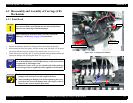
C A U T I O N
When removing the H Top Cover, care should be taken not to
damage the P_THICK Sensor and P_THICK Sensor_0.3. To avoid
damaging them, bring down the Paper Set Lever toward you (to the
paper holding position) first and shift the H Top Cover rearward in
an oblique direction for its removal.
Screw (CUPS: M4×8)
Screws (CUPS: M4×8) ×2
Screw (CUPS: M4×8)
Screw (CUPS: M4×8)
Plate


