


EPSON Stylus Pro 7600/9600 Revision A
Disassembly & Assembly Disassembly and Assembly of Carriage (CR) Mechanism 172
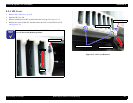
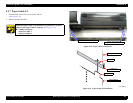
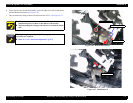
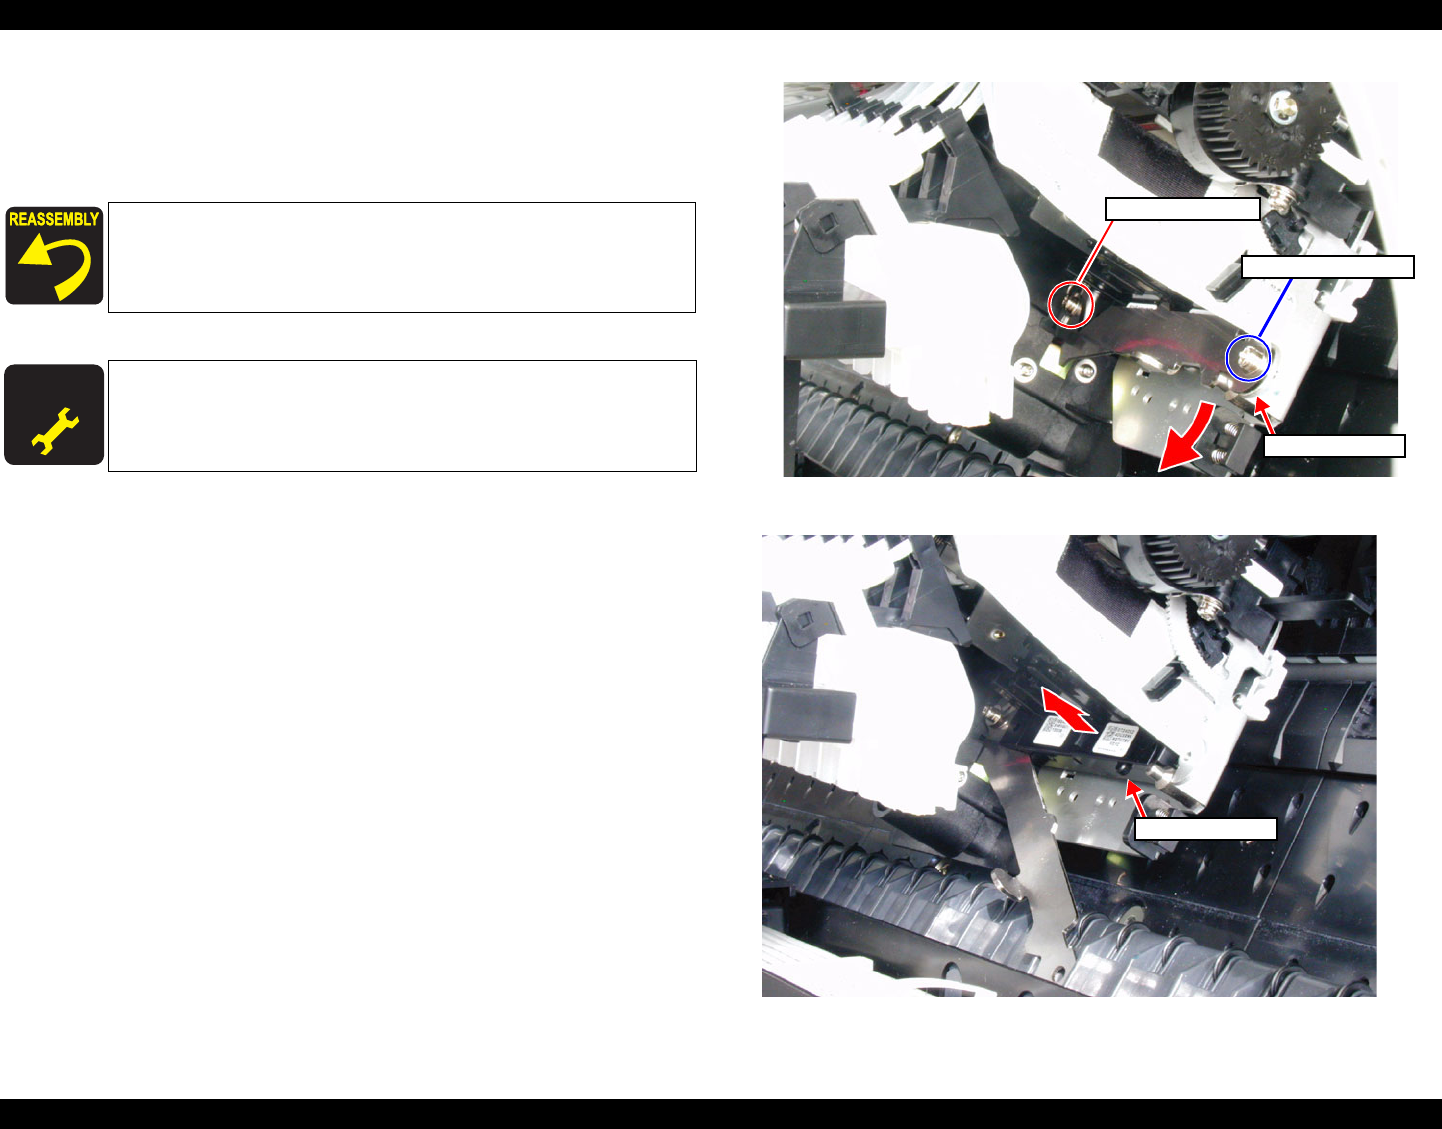
4. Loosen the left screw for the
Head Holder
, remove the right screw (M3
×
6) and release
the Head Holder downward.
(See Figure 4-26)
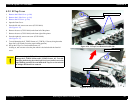
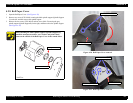
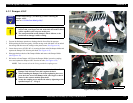
5. Take out the head by lifting its inner side and release the 2 FFCs.
(See Figure 4-27)
Figure 4-26. Head Holder Release
Figure 4-27. Head Removal
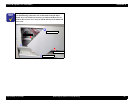
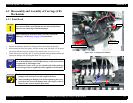
Take care not to touch the nozzle side of the print head to be
installed and not to let dust or dirt adhere to the nozzles.
When installing the carriage, take care not to scratch the nozzle
side.
A D J U S T M E N T
R E Q U I R E D
When replacing the print head, the following adjustment
procedures are required.
Refer to “5.1.4.1 Print Head Adjustment” (p.212)
Head Holder
Screw (M3×6)
Loosen the screw
Print Head