2. Right-click Create logical drive, or click
on the toolbar or Logical devices
view. The Configuration wizard opens.
3. Click either Express configuration or Custom configuration.
Note:
If you click Express configuration, you will have the opportunity to
review and approve the configuration before the ServeRAID Manager
applies the configuration.
4. Click Automatically initialize new logical drives. Initializing a logical drive
erases the first 1024 sectors on the drive and prevents access to any data
previously stored on the drive.
5. Create the arrays and hot-spare drives.
6. If you want spanned arrays, create the spanned arrays.
7. Create the logical drives.
8. Review the configuration summary and apply the configuration.
More information
v Configuring a ServeRAID controller: the basic steps
v Initializing a logical drive
Creating
arrays and a hot-spare drive for your integrated RAID controller subsystem:
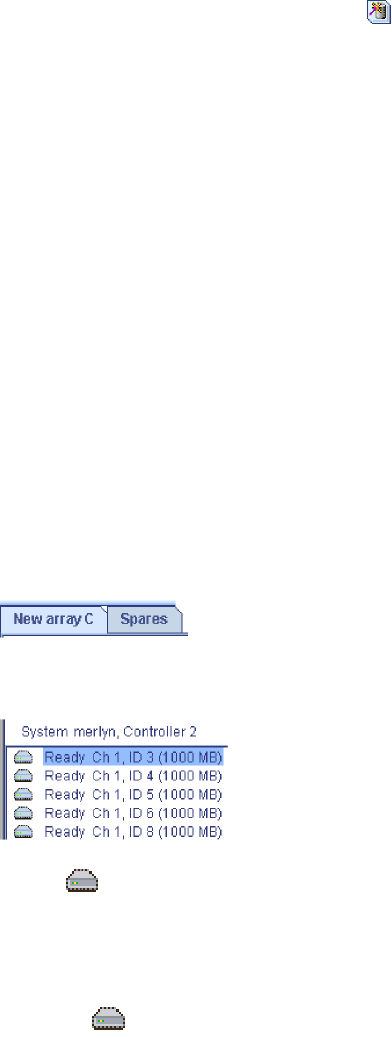
Complete the following steps to create arrays:
1. Click the Array tab in the right pane:
2. Then, from the list of ready drives, select the drives you want to move to the
array:
3. Click
>> (Add selected drives) to add the drives to the array.
4. If you want to configure a hot-spare drive, complete the following steps:
a. Click the Spares tab.
b. Select the physical drive you want to designate as the hot-spare drive; then,
click
>> (Add selected drives).
5.
Click Next. The Configuration Summary window opens.
To return to the Express and Custom Configuration window, click Back. To leave
the Configuration wizard, click Cancel.
More information
v Understanding creating basic arrays
Deleting
all arrays:
Note:
120 ServeRAID Manager Installation and User's Guide
