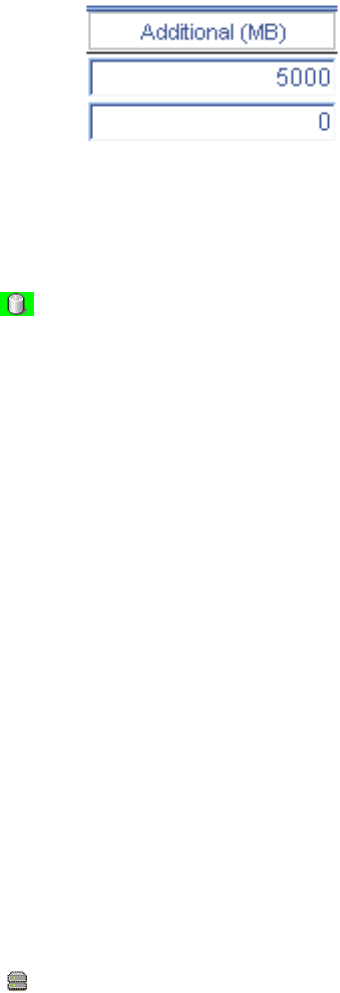
6. For each logical drive in the array, type amount space you want to add to the
logical drive in the Additional (MB) field.
7. Repeat steps 5 and 6 to increase logical drive capacity for other arrays.
8. When you are ready to continue, click Next.
9. Review the configuration summary and apply the changes.
Increasing
the size of a single logical drive
1. In the Logical devices view, click
(logical drive).
2. Right-click Increase logical drive capacity. The Configuration wizard opens
with the Increase Logical Drive Capacity window.
3. Type amount space you want to add to the logical drive in the Additional
(MB) field.
4. When you are ready to continue, click Next.
5. Review the configuration summary and apply the changes.
More information
v Changing authentication settings
v Changing access control settings
Adding
drives to an existing array: Use this action to add physical drives to an
existing array without changing the RAID level.
When you create an array, it is striped across all the physical drives used by the
array. To increase the size of an existing array, you add segments to the array,
which can be on the same or different disks. Then, the ServeRAID Manager
migrates the array such that the data is spread across the existing and new
physical drives.
Note:
1. The capacity of the modified array must match or exceed its current
capacity.
2. The maximum size of an array is 2 terabytes.
3. This action is not supported for all RAID levels.
1. In the Logical devices view, click
(array).
2. Right-click Expand or migrate array. The Configuration wizard opens with the
Choose RAID Level window.
3. Click Next. (Do not change the RAID level!) The Modify Array window opens.
4. Add segments to the array. Optionally, click Advanced settings to set the drive
capacity display units (MB, GB, TB).
5. When you are ready to continue, click Next. The Configuration Summary
window opens.
6. Review and apply your new configuration.
Chapter 4. Managing ServeRAID devices 185


