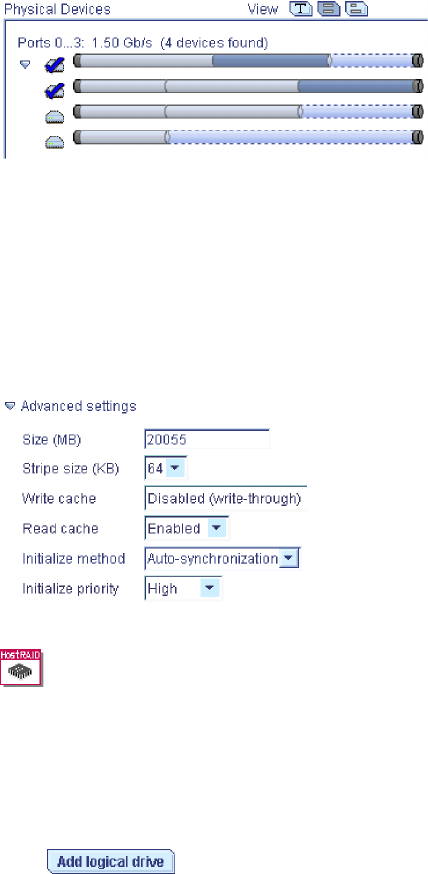
Note: A segment shaded in light blue and outlined by a dashed line is not part
of any logical drive.
2. To select a hot-spare for the logical drive, or to deselect a hot-spare,
control-click the drive.
3. In the Name field, enter a name for the logical drive.
4. If you do not want to use the maximum size for the logical drive, click
Advanced settings; then, type the size in the Size (MB) field:
For HostRAID controllers, the logical drive uses all of the space on each
disk drive; you cannot adjust the logical drive size.
5. To configure the logical drive for optimal performance, adjust the advanced
settings as needed.
Note: The default settings usually are adequate for most applications.
6. If you have free space available and want to create additional logical drives,
click
; then, repeat steps 1-4.
7. When you are ready to continue, click Next. The Configuration Summary
window opens.
More information
v Understanding physical drive capacity and unusable capacity
Creating logical drives > advanced settings
Note: Not all options are available for all RAID levels.
Use the Advanced settings in the Configuration wizard to tune your logical drive
configuration for optimal performance. You can set the following options:
v Write cache - Determines how data is stored in the controller’s cache memory.
You can choose from two available settings: write-through and write-back.
v stripe-unit size - Determines the amount of data, in kilobytes (KB), written to
one segment of a logical drive before the next segment is used for subsequent
data. Depending on the controller, you can choose a stripe-unit size from 16 KB
to 1024 KB.
72 ServeRAID Manager Installation and User's Guide
