


3-42 Sun StorEdge 5310 NAS Troubleshooting Guide • December 2004
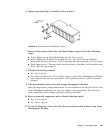
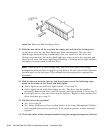
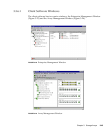
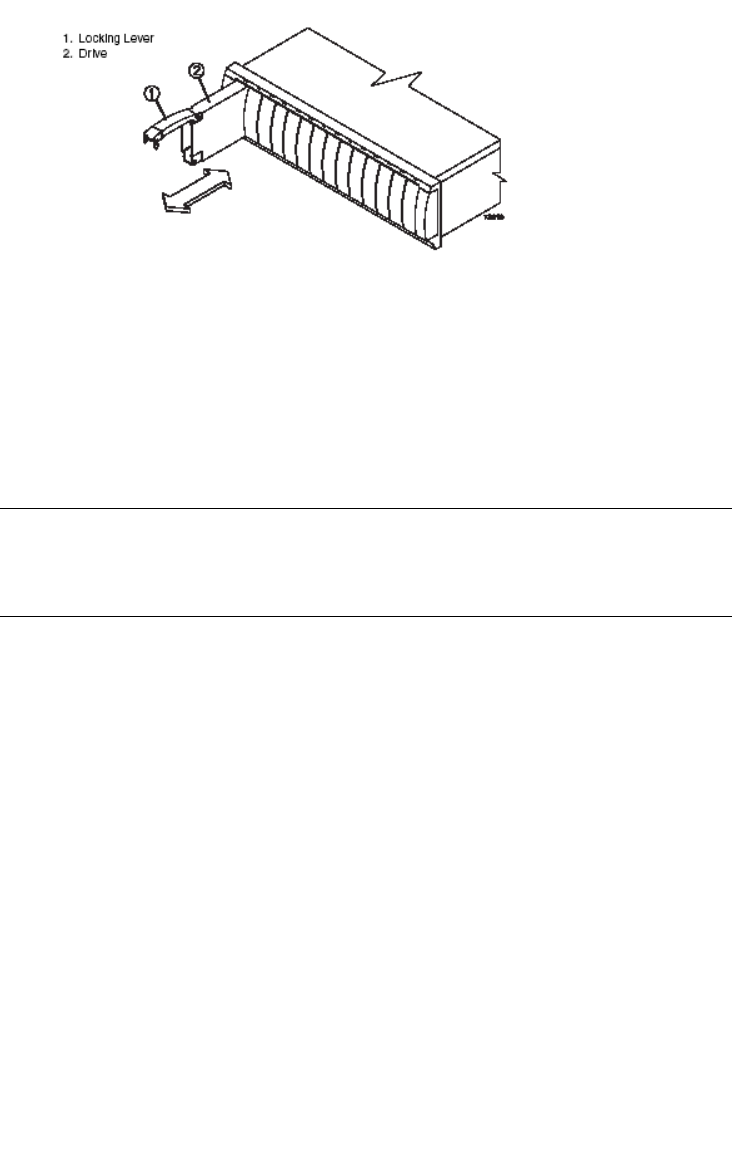
FIGURE 3-22 Removing and Installing a Drive
11. Slide the new drive all the way into the empty slot and close the locking lever.
As the drive spins up, the Fault lights may flash intermittently. The new drive
should begin reconstructing automatically after you install it in the drive slot.
During reconstruction, the drive's Fault light may come on for a few minutes, and
then turn off when the Active light begins flashing. A flashing Active light indicates
that data is being restored to the new drive.
Note – IMPORTANT If your storage array has active hot spares, the storage
management software may not begin copying data to the new drive until it has been
reconstructed on the hot spare. This increases the time required to complete the
procedure.
12. Wait for the new drive to spin up, and then choose one of the following steps,
based on the status of the Active and Fault lights:
■ Active lights are on and Fault lights are off - Go to step 14.
■ Active lights are off while Fault lights are off - The drive may be installed
incorrectly. Remove the drive, wait 30 seconds, and then reinstall it. Go to step 13.
■ Fault lights are on - The new drive may be defective. Replace it with another new
drive, and then go to step 13.
13. Did this correct the problem?
■ Yes - Go to step 14.
■ No - Select the Recovery Guru toolbar button in the Array Management Window
and complete the recovery procedure. If the problem persists, contact technical
support.
14. Check the status of the command module using the storage management software.