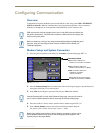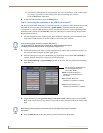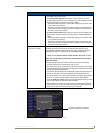
Configuring Communication
95
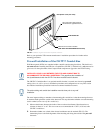
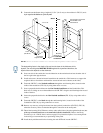
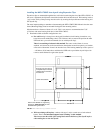
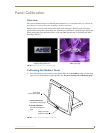
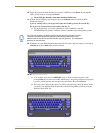
VG-Series Modero Touch Panels
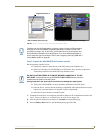
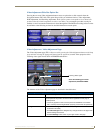
Configuring and Using USB with a Virtual Master
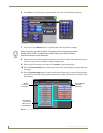
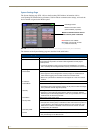
NetLinx Studio can be setup to run a Virtual Master where the PC acts as the Master by supplying its
own IP Address for communication to the panel. The PC is first equipped with the USB driver, the panel
is then configured for USB communication, and then Studio is configured to act as the Master.
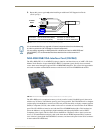
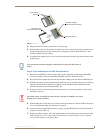
For a personal computer to establish a connection to a Modero panel via USB, the target computer must
have the appropriate AMX USB driver installed. This installation is bundled into the latest TPDesign4
software setup process or can be downloaded independently from the main Application Files page on
www.amx.com.
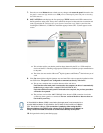
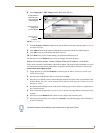
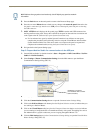
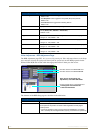
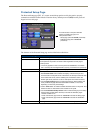
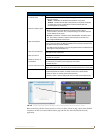
Step 1: Setting up the USB Driver on the PC
1.
If you do not currently have the latest version of TPDesign4, navigate to www.amx.com > Tech
Center > Downloadable Files > Application Files > NetLinx Design Tools section of the website
and locate the AMX USB Driver executable (AMX USBLAN Setup exe).
2. Download this executable file to a known location on your computer.
3. Launch the file by double-clicking on it and follow the on-screen prompts to complete your
installation. Note that even if you have loaded the latest AMX Studio or TPD4 software, you will
still need to download and install this file if you are working with either the 1200V-Series or
VG-Series of panels.
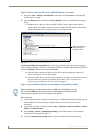
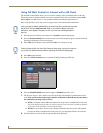
4. Choose the default language, agree to the Licensing information, and choose the location for the file
installations (C:\Program Files\AMX\USBLAN).
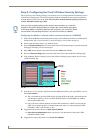
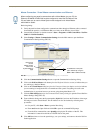
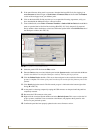
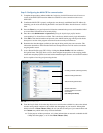
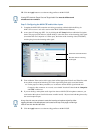
5. From within the Choose Components dialog, select the features you wish to install. The Driver
option is selected by default and is the only item required.
6. Click the Install button to continue with the installation.
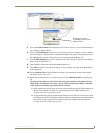
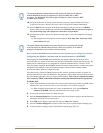
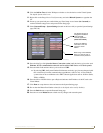
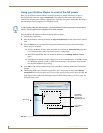
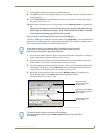
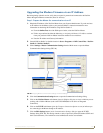
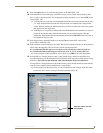
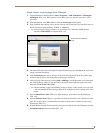
7. Once the application begins the installation of the corresponding USB driver files, it may encounter
cases where previous versions of these files already exist. This can occur if you have previously
installed release versions of NetLinx Studio and TPDesign4.
If you are prompted to replace the AXBLAN.INF file, select YES.
If you are prompted to replace the Checked driver file, select NO.
If you are prompted to replace the AXBLAN.SYS and AXFILT.SYS files, select Yes .
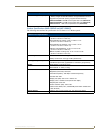
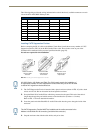
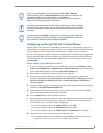
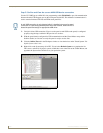
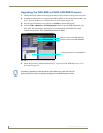
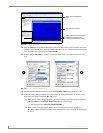
8. Continue the setup process by following these OS-related processes:
For machines running Windows 2000 simply click the Next button when the installation is
complete. Creating a restore point is not an available option in 2000.
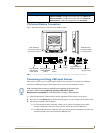
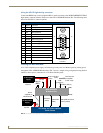
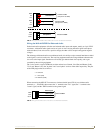
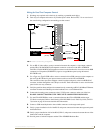
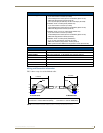
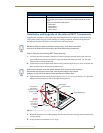
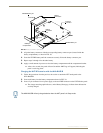
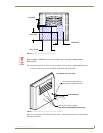
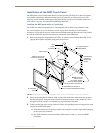
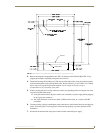
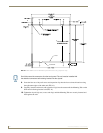
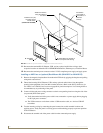
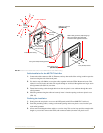
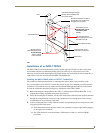
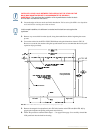
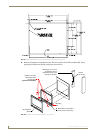
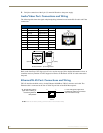
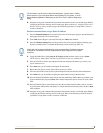
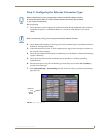
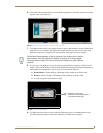
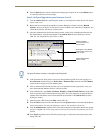
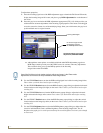
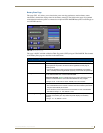
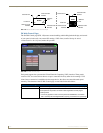
There are 2 possible Master Connection Types available: USB or Ethernet.
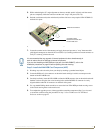
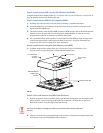
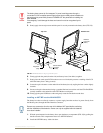
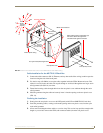
A USB connection type is a direct connection from the panel’s mini-USB port to a
corresponding USB port on the PC (acting as a Virtual Master).
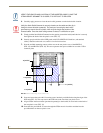
An Ethernet connection type involves indirect communication from the panel to a
Master via an Ethernet connection to the network.
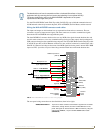
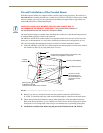
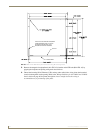
It is recommended that firmware KIT files only be transferred over a direct connection
and only when the panel is connected to a power supply. If battery power or wireless
connection fails during a firmware upgrade, the panel flash file system may become
corrupted.
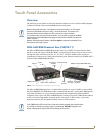
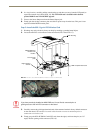
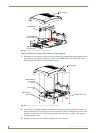
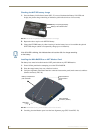
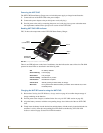
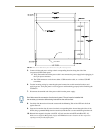
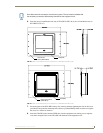
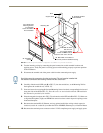
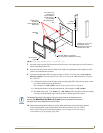
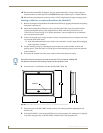
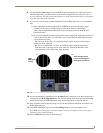
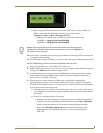
The mini-USB connector MUST be plugged into an already active panel before the
PC can recognize the connection and assign an appropriate USB driver. This driver is
part of the latest TPDesign4 software application installation.