


Installation Procedures: 12" and 15" Panels
67
VG-Series Modero Touch Panels
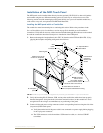
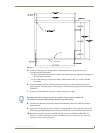
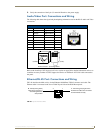
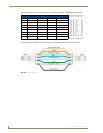
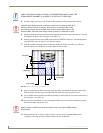
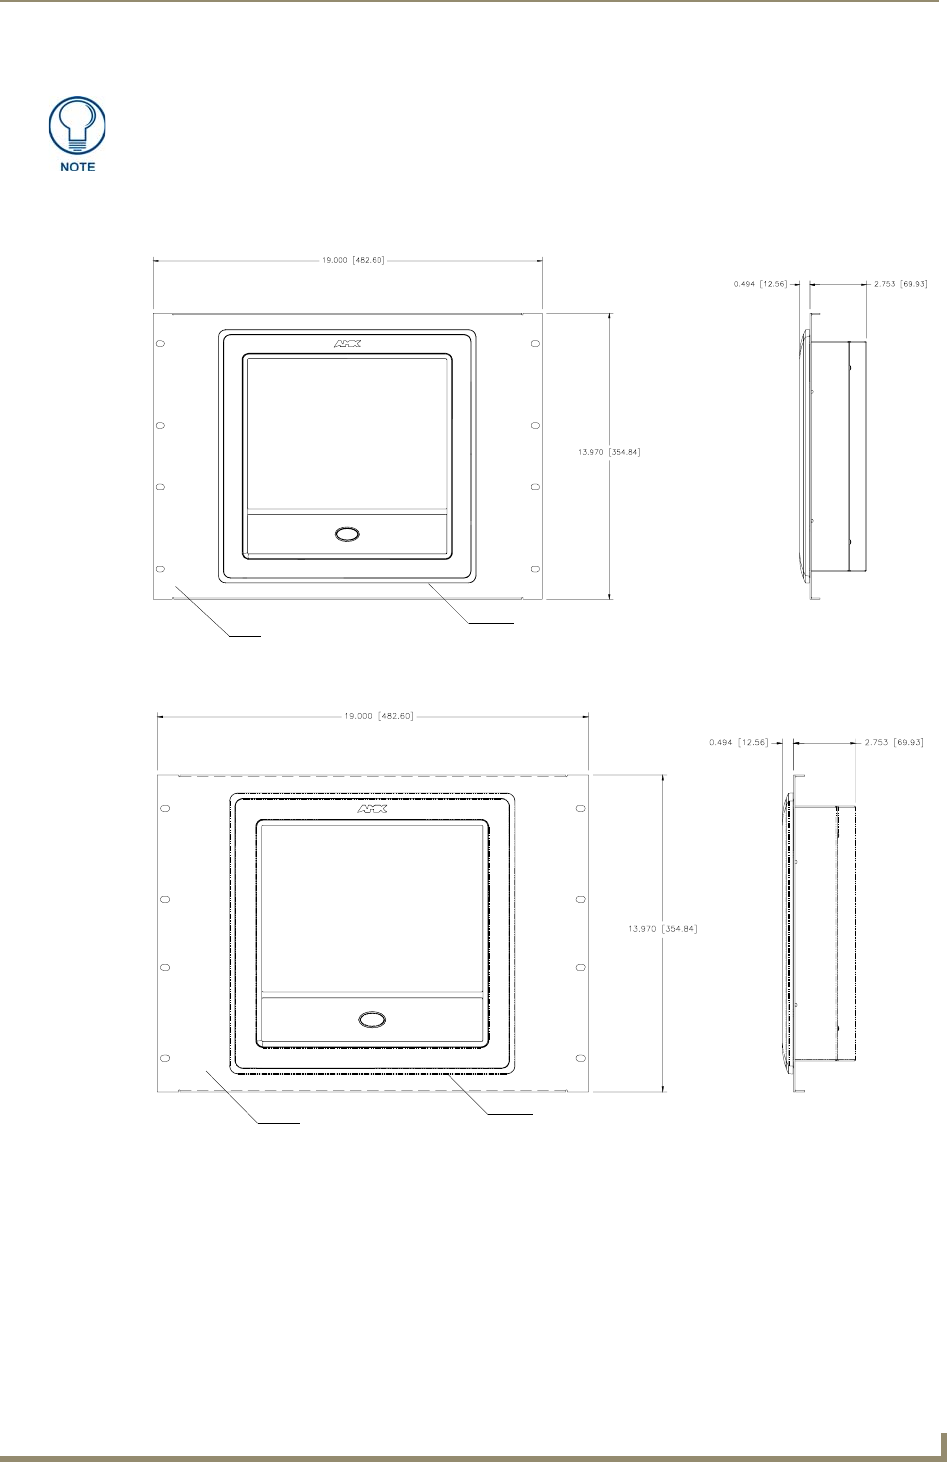
6. Insert the main 12-inch Modero unit into an NXA-RK12 (FIG. 46) or the 15-inch Modero into an
NXA-RK15 (FIG. 47).
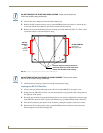
7. Secure the panel to the NXA-RK frame by first inserting and then tightening the four #4-40 screws
(provided). Line up the four mounting holes and use a grounded Phillips-head screwdriver to tighten
the screws in a clockwise direction.
8. Insert the NXA-RK (with connected NXD unit) into the equipment rack, making sure to align the
screw holes along the sides on the NXA-RK with the holes in the equipment rack.
Don’t disconnect the connectors from the touch panel. The unit must be installed with
the necessary connectors before being inserted into the equipment rack.
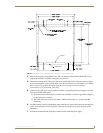
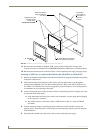
FIG. 46 NXD 12 inch Wall Mount panel installed into an NXA-RK12 Rack Mount Kit
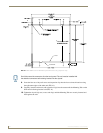
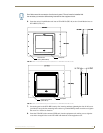
FIG. 47 NXD 15 inch Wall Mount panel installed into an NXA-RK15 Rack Mount Kit
Faceplate
Rack mount
frame (NXA-RK12)
Faceplate
Rack mount frame
(NXA-RK15)