


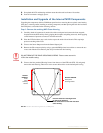
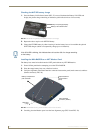

Touch Panel Accessories
50
VG-Series Modero Touch Panels
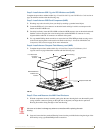
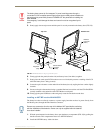
Powering the NXT-CHG
The NXT-CHG Smart Battery Charger uses an included power supply to charge inserted batteries.
1. Connect the rear of the NXT-CHG to the power adapter.
2. Connect the power adapter to the provided power cord (with plug).
3. Provide power to the unit by connecting the power cord (with plug) into a power outlet that meets
the requirements outlined in the Specifications section for the NXT-CHG.
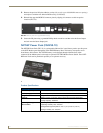
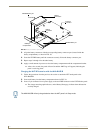
Reading NXT-CHG LED Indicator
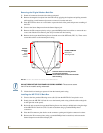
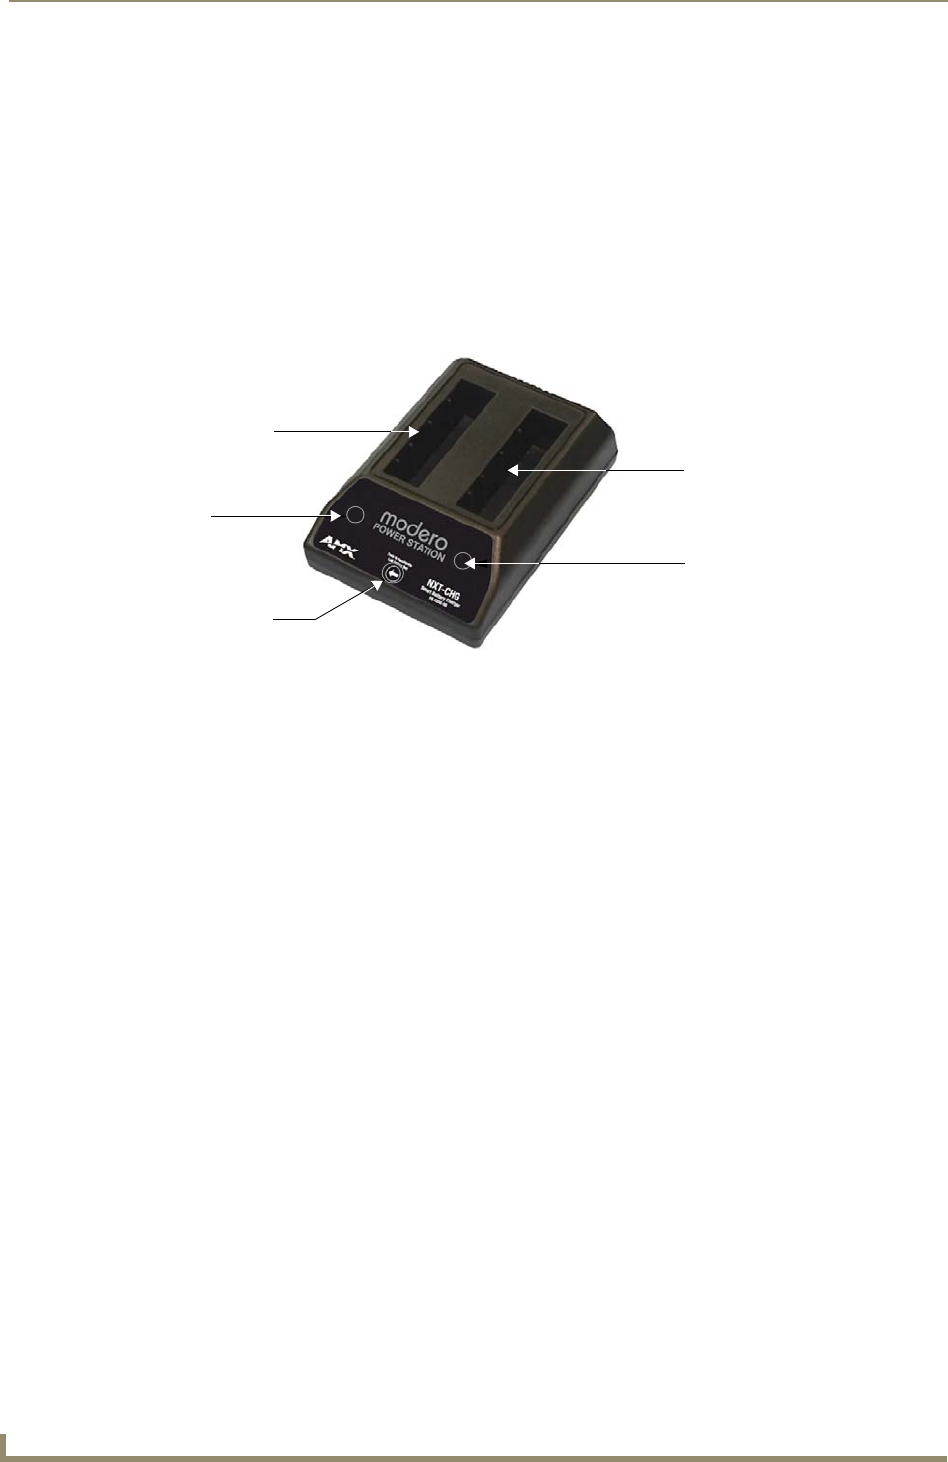
FIG. 32 shows the components on the NXT-CHG Smart Battery Charger.
There is one LED indicator on the front of each battery slot that indicates the status of that slot. The blink
patterns for these LEDs are described in the following table:
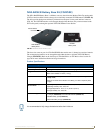
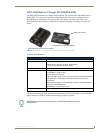
Charging the NXT-BP batteries using the NXT-CHG
1.
Review the Checking the NXT-BP battery charge section on page 46 to confirm the percentage of
charge remaining on the batteries.
2. Provide power to the charger (as outlined in the Powering the NXT-CHG section on page 50).
3. Align the battery connector with the corresponding charge slot within each of the two NXT-CHG
slots.
4. Firmly insert the battery into the desired slot until the battery is both securely located within the slot
and there is activity from the corresponding Slot LED. Refer to the Reading NXT-CHG LED
Indicator section on page 50 section for LED information.
FIG. 32 Component locations on the NXT-CHG
• Off: No battery detected.
• Green Flashing: Fast charging.
• Green Solid: Fully charged.
• Yellow Flashing: Recalibration in process.
• Yellow/Green: Recalibration complete.
• Yellow Solid: Standby (waiting for other battery to charge).
• Red Flash: Error (problem with either the battery connection to the internal slot, or with
the battery itself).
Slot 1
LED
Slot 2
LED
Recalibrate
Pushbutton
Slot 1
Slot 2
(recalibration)