


Upgrading Modero Firmware
129
VG-Series Modero Touch Panels
Step 1: Prepare the NXA-BASE/B for firmware transfer
Before beginning with this section:
Unplug any connectors from the rear of the NXT panel (power, Ethernet, etc.).
Refer to the Installing the NXA-BASE/B to an NXT Modero Panel section on page 46 for
installation procedures to mount the NXT atop the battery base.
Verify your NXA-BASE/B is securely attached to the bottom of the NXT panel.
Once the base is secured, side out the battery compartment and install the batteries into the
battery base. Once the batteries are installed, close the compartment.
Reconnect all rear connectors to the NXT panel.
1. Complete the instructions for configuring the NetLinx Master for IP communication found in the
Step 1: Prepare the Master for communication via an IP section on page 125.
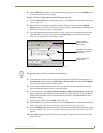
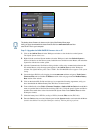
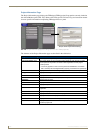
2. Press the grey Front Setup Access button for 3 seconds to open the Setup page.
3. Press the Battery Base button to open the Battery Base page (FIG. 100).
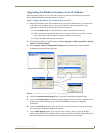
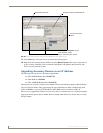
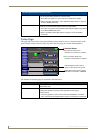
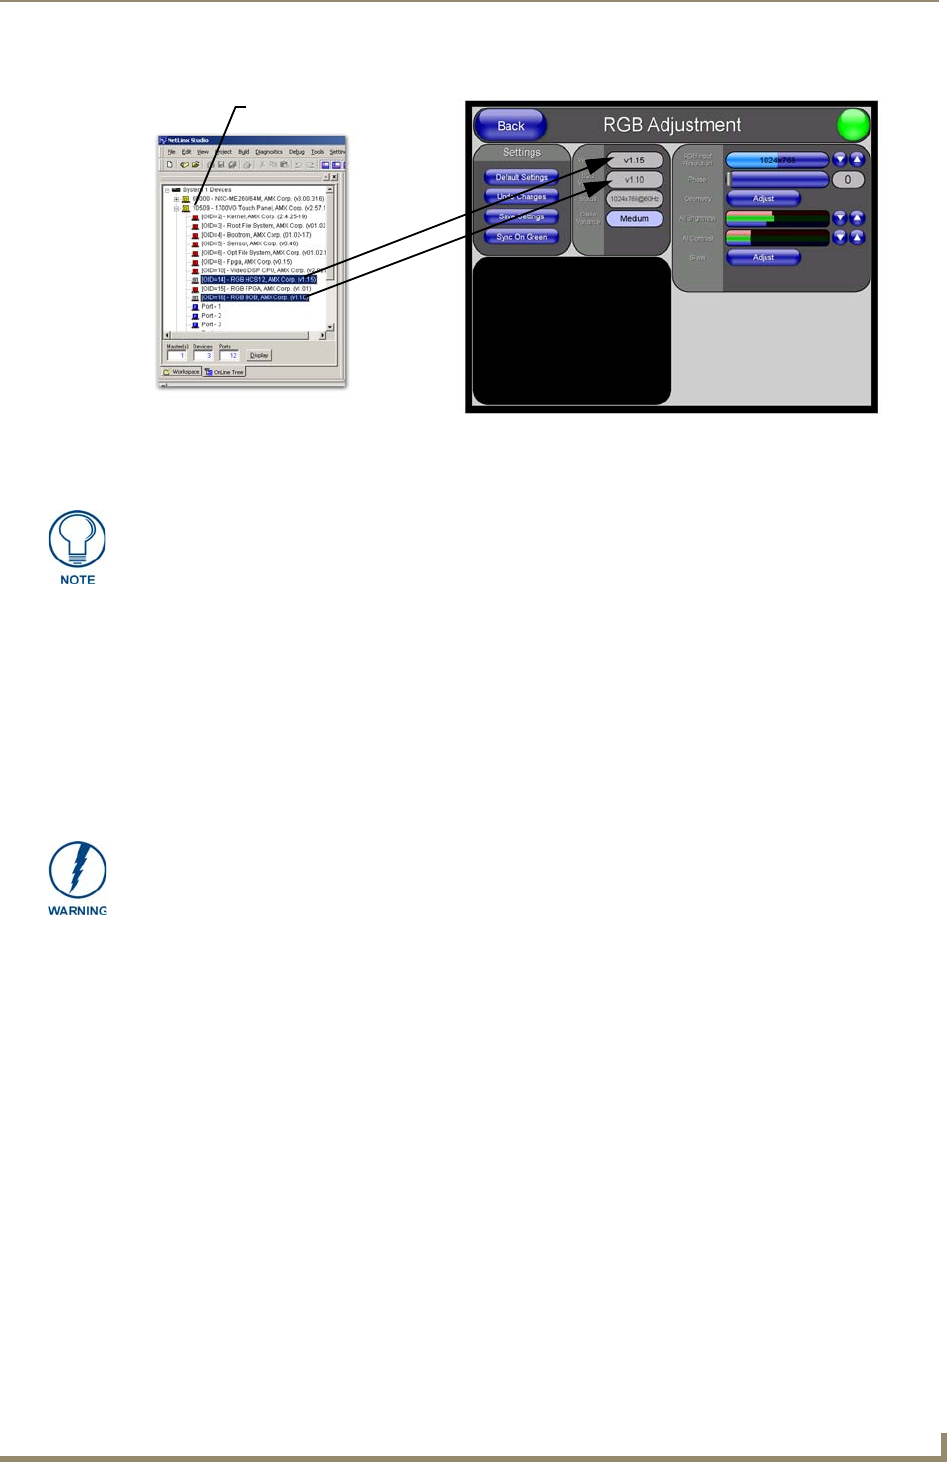
FIG. 99 Location of Firmware version information within NetLinx Studio
NXA-RGB
NXA-AVB/RGB
(BOB version)
firmware
Target Panel Device #
NetLinx Studio Online Tree tab Accessory’s corresponding firmware page
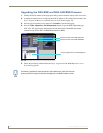
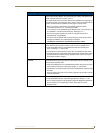
Firmware can also be downloaded to accessory items via a direct USB connection
using the PC as a Virtual Master (Upgrading the Modero Firmware via the USB
port section on page 121). In this case, you will still need to know the System and
Device Number information of the target panel. For a more detailed description of
how to setup this type of connection, refer to the Configuring and Using USB with a
Virtual Master section on page 95.
DO NOT PLACE BATTERIES IN THE BASE BEFORE CONNECTING IT TO THE
NXT PANEL. Insert batteries into the NXA-BASE/B ONLY AFTER the base has been
installed onto the bottom of the NXT panel.
Having batteries in the base before connection can damage the battery base.