


6. Press until >IP Address appears, and then press .
7. The cursor is located at the first digit of the IP address. Press
address.
8. Press .
The cursor moves to the next digit.
9. Repeat steps 7 and 8 to enter all of the digits in the IP address, and then press
10. Press the Back button.
11. Press until >Subnet Mask appears, and then press
12. Repeat steps 7 to 8 to set Subnet Mask, and then press
13. Press the Back button.
14. Press until >Gateway Address appears, and then press .
15. Repeat steps 7 to 8 to set Gateway Address, and then press
16. Turn off the multifunction printer, and then turn it on again.
The IP address is assigned to your multifunction printer. To verify the setting, open the web browser on any
computer connected to the network and enter the IP address into the address bar on the browser. If the IP
address is set up correctly, the Dell Printer Configuration Web Tool displays in your browser.
You can also assign the IP address to the multifunction printer when installing the printer drivers with
installer. When you use the Network Installation feature, and the Get IP Address is set to AutoIP on the
operator panel menu, you can set the IP address from 0.0.0.0 to the desired IP address on the printer
selection window.
Verify the IP Settings
1. Print another system settings page.
2. Look under the TCP/IP heading on the system settings page to ensure that the IP address, netmask,
and gateway are what you expected.
or
Ping the multifunction printer and verify that it responds. For example, at a command prompt on a
network computer, type ping followed by the new printer IP address (for example, 192.168.0.11):
ping 192.168.0.11
If the multifunction printer is active on the network, you will receive a reply.
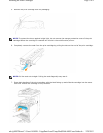
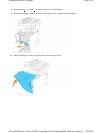
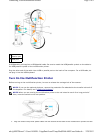
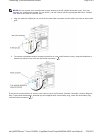
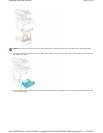
Connecting the Telephone Line
Page
7
of
9
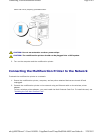
Connecting Your Multifunction Printer
2/
29/
2012
mk:@MSITStore:C:\Users\14JMIS~1\AppData\Local\Temp\Rar$DIa0.409\UsersGuide.ch
...