Assemblies Removal
Power Supply Removal
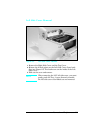
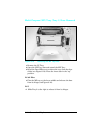
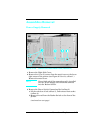
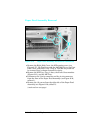
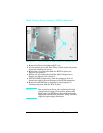
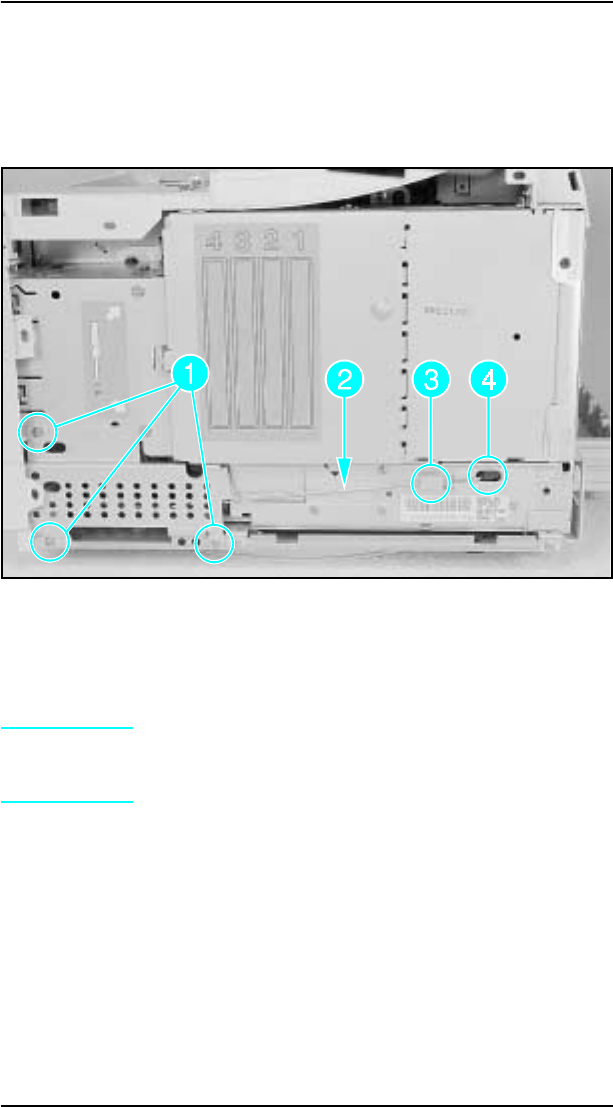
1 Remove the Right Side Cover.
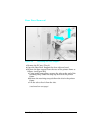
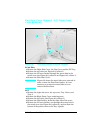
2 Remove the (3) or (2) screws from the metal cover at the lower
right corner of the printer (see Figure 6-13a or b, callout 1.)
Remove the metal cover.
Note
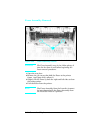
Note which end of the connecting rod is installed
into the Power Supply and which end connects
into the Rocker Switch.
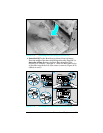
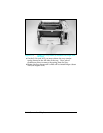
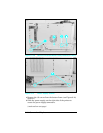
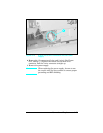
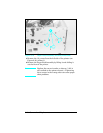
3 Remove the Power Switch Connecting Rod (callout 2.)
a lift the rod clear of tab (callout 3), and remove from socket
(callout 4).
b
Remove the rod from the Rocker Switch at the front of the
printer.
(continued on next page)
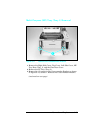
Figure 6-13a Remove the Sheet Metal Plate (LaserJet 4)
Removal and Replacement 6-15


