


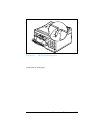

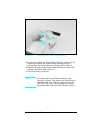

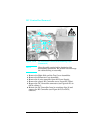
Formatter Cage Removal
Note You may wisht to remove the metal cover (on the
lower right side) and the power supply for easier
access to the Formatter Cage screws.
1
Remove the Right Side Cover and the Top Cover.
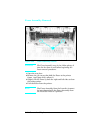
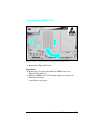
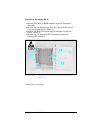
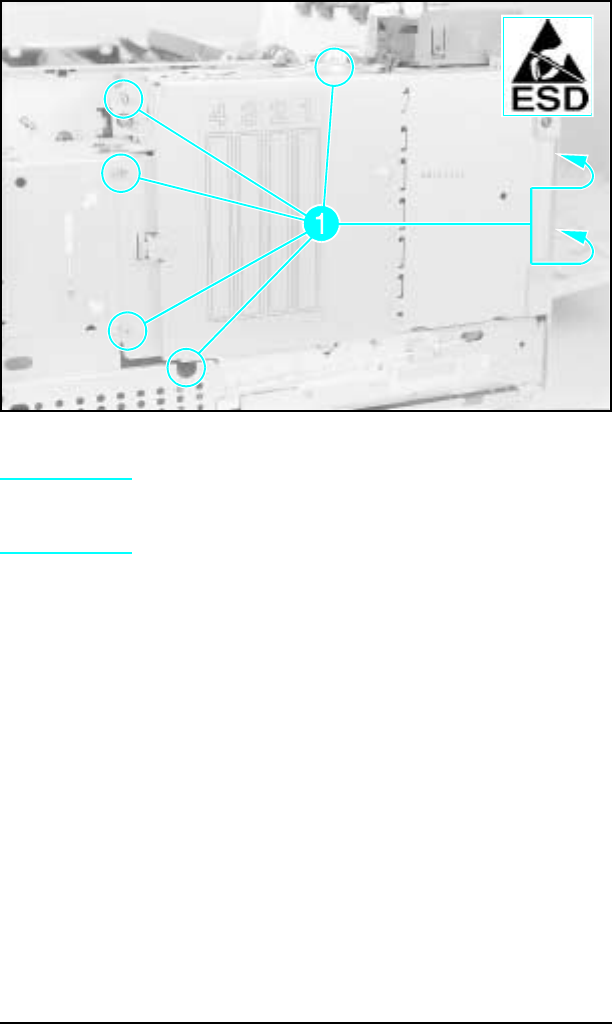
2 LaserJet 4 and 5: Remove the (7) screws (6 screws in the LJ
5) shown in Figure 6-24a. (2) screws are on the right rear of
the printer, (1) screw is under the lower front of the Formatter
Cage (except LJ 5).
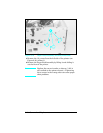
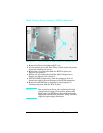
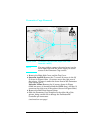
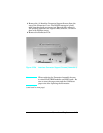
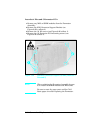
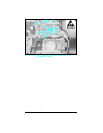
LaserJet 4 Plus: Remove the (3) screws shown in Figure
6-24b (one screw is located behind the SIMM door), and the (2)
screws on the right rear of the printer (shown in Figure 6-24c).
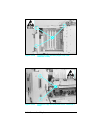
3 Remove the Rear Door Support Strap.
4 Slide the Formatter Cage straight out the right side of the
printer, being careful not to damage the Formatter/DC
Controller pin connectors.
(continued on next page)
Figure 6-24a Formatter Cage Screws (Right Side View -
LaserJet 4 and 5)
Removal and Replacement 6-27