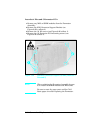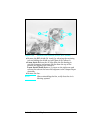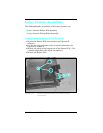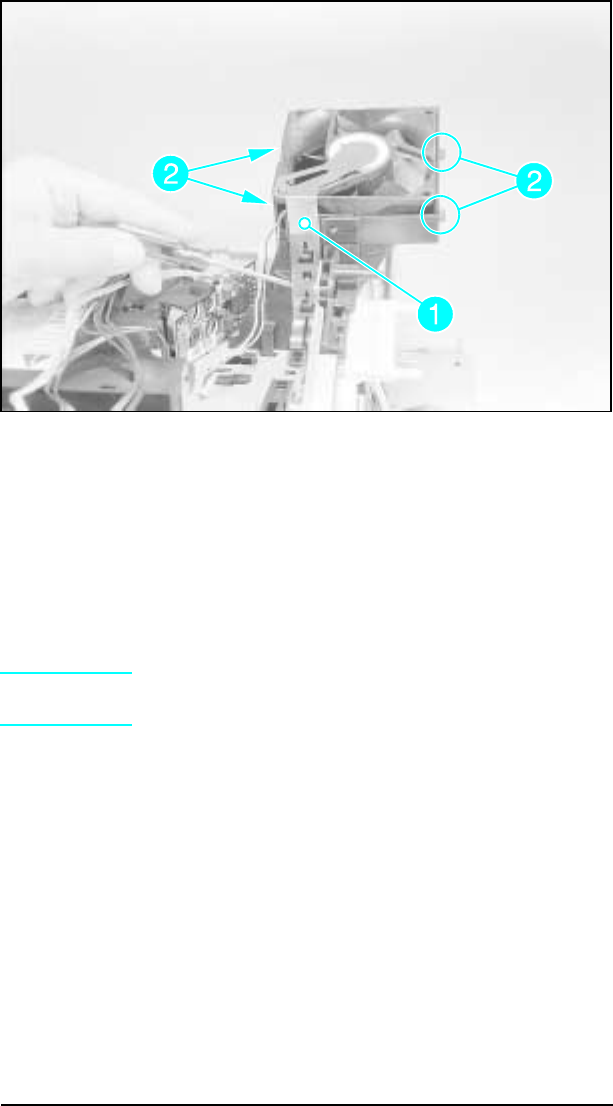
3 Remove the RFI shield (LJ 4 only) by releasing the retaining
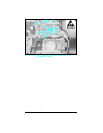
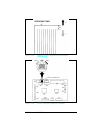
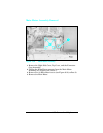
tab and sliding the shield up (see Figure 6-33, callout 1).
4 Laser Jet 4: Release the (4) clips from the fan ducting to
provide clearance and remove the fan from the top of the
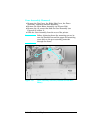
printer (see Figure 6-33, callout 2).
Laser Jet 4 Plus/5: Remove (1) screw on the right-rear and
release the tabs on the lower left adjacent to the Output Paper
Assembly
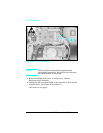
5 Remove the fan.
Note
When reinstalling the fan, verify that the air is
blowing upward.
Figure 1-33 Exhaust Fan Removal (Laser Jet 4 shown)
6-40 Removal and Replacement


