Accessing the SIMM Slots
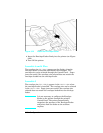
Please refer to Chapter 6, Removal and Replacement, for
instructions on removing the SIMMS door to access the slots.
Note that access to the SIMM slots are slightly different for the
various printer models.
Installing the SIMM Boards
1
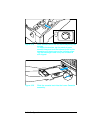
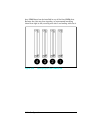
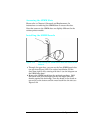
Through the open door, you can see the four SIMM board slots
(see previous Figure 3-23). For easiest installation, fill the
slots from right to left, starting with slot 1 (see the diagram on
the SIMM slots door).
2
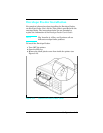
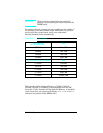
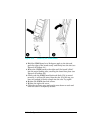
Remove the SIMM board from the antistatic package. Hold
the board with your forefingers on the side edges and your
thumbs against the back edge. Turn the board so the notch on
one end is on the bottom and the metal teeth face the slot (see
Figure 3-24.
Figure 3-24 Positioning the SIMM board with the notch at the
bottom.
Configuration 3-55


