


PS5 Check (MP Tray Paper End Sensor) Functional Test
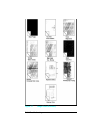
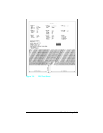
1 Make a test sheet by cutting a notch in the trailing edge of a
sheet of paper as shown in Figure 7-9.
2 Perform the set up procedures listed for the PS4 check (MP
Tray Empty Sensor) on page 7-17, and put the test sheet into
the MP tray when the display reads XX LOAD LEGAL.
3 The self test print should stop 2 to 5 mm above the notch (see
Figure 7-9).
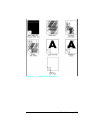
4 Print that extends into cut out area indicates that the sensor
PS5 is not free in its travel or is defective. Ensure that the
sensor lever is free throughout its entire range of travel. If
not, replace the lever or the sensor itself.
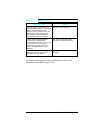
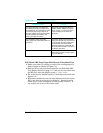
Possible Cause Action
PC tray Microswitches. The paper tray
microswitches indicate the paper size of
the installed tray. This information is used
to format the print image to the size of
the paper installed in the tray. If the paper
tray microswitches are defective, the
image is formatted incorrectly.
Perform the “Cassette Size Switches
(SW603, SW604, SW605) Functional
Check” on page 7-15. Ensure that the
correct envelope size is selected if
appropriate.
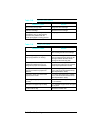
PS 5 is defective. PS 5 senses the
trailing edge of the media being fed from
the MP tray.
If improperly sized images result from
printing from the MP tray, check that PS
5 is functioning correctly mechanically
and electrically. This feature allows
odd-sized media to be printed with the
MP tray. Troubleshoot PS 5 as shown in
the following procedure.
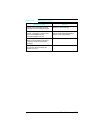
MP Paper Size is not set correctly. Use the MP Paper Size Button on the
Front Panel to correctly configure paper
size for the MP Tray.
Table 7-24
Improperly Sized Image
7-44 Troubleshooting