Note: Press to sequentially step through the scan list and take a
measurement on each channel (readings are not stored in memory).
This is an easy way to verify your wiring connections before initiating
the scan.
3 Run the scan and store the readings in non-volatile memory.
The instrument automatically scans the configured channels in
consecutive order from slot 100 through slot 300 (the
SCAN annunciator
turns on). Channels that are not configured are skipped during the scan.
In the default configuration, the instrument continuously scans the
configured channels at a 10-second interval.
Press and hold to stop the scan.
4 View the data from the scan.
All readings taken during a scan are automatically time stamped and
stored in non-volatile memory. During the scan, the instrument
calculates and stores the minimum, maximum, and average on all
channels in the scan list. You can read the contents of memory at any
time, even during a scan.
From the front panel, data is available for the last 100 readings on each
channel readings taken during a scan (all of the data is available from
the remote interface). From the View menu, select
READINGS and press
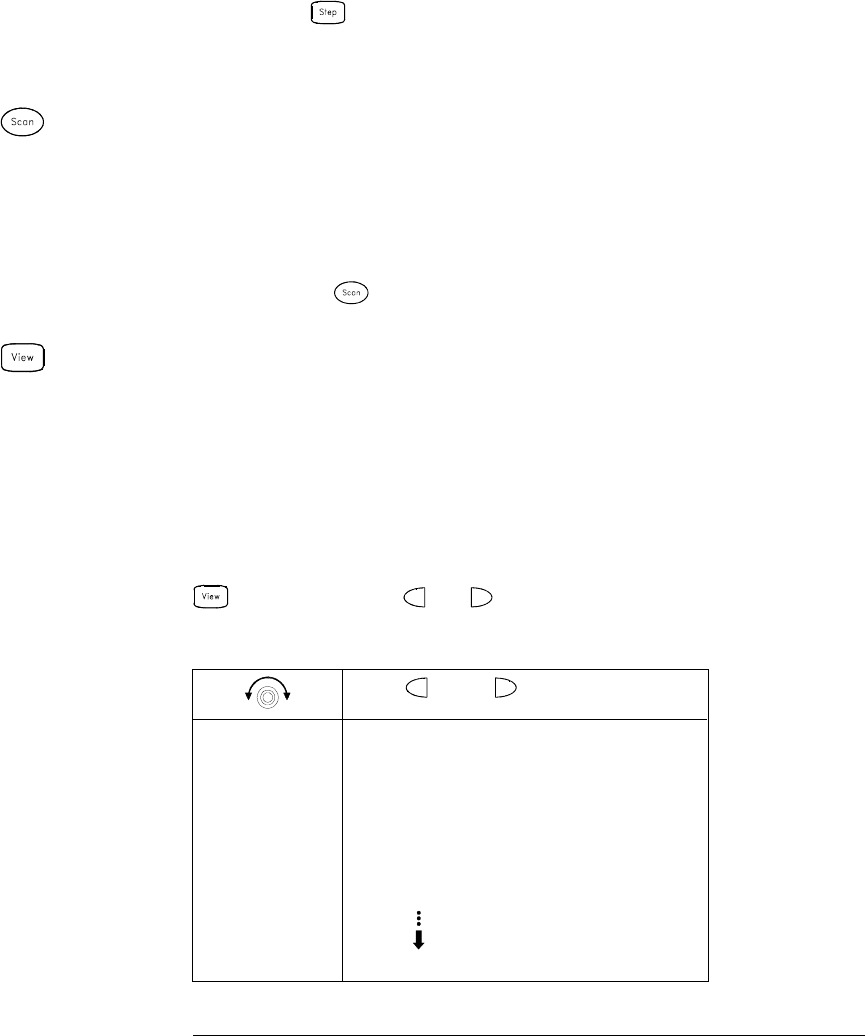
again. Then press and to choose the data you want to view
for the selected channel as shown in the table below.
and
Select Channel Last Reading on Channel
Time of Last Reading
Minimum Reading on Channel
Time of Minimum Reading
Maximum Reading on Channel
Time of Maximum Reading
Average of Readings on Channel
Second Most Recent Reading on Channel
Third Most Recent Reading on Channel
99th Most Recent Reading on Channel
Chapter 1 Quick Start
To Configure a Channel for Scanning
24
