Dell™ Printer Configuration Web Tool
109
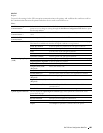
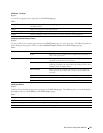
SSL/TLS
Purpose:
To specify the settings for the SSL encryption communication to the printer, and set/delete the certificate used for
the communication between the printer and other devices such as an LDAP server.
Va l ues :
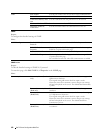
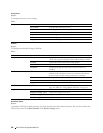
SSL/TLS Server
Communication*
1
Select the check box to enable the SSL/TLS communication for when client computers access the
printer to view or change its settings through the Dell Printer Configuration Web Tool or to print
files through AirPrint.
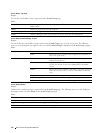
LDAP-SSL/TLS
Communication*
1
Select the check box to enable the SSL/TLS communication between the printer and an LDAP
server.
SMTP-SSL/TLS
Communication
Sets the type of SSL/TLS used to communicate with the SMTP server.
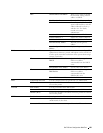
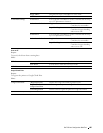
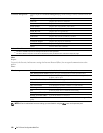
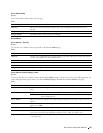
Create New Certificate Click to display the Generate Certificate page and to create a security certification from the page.
This button is available only when the self-signed certificate is not generated.
Public Key Method Select the public key method of the self-signed certificate.
Public Key Size Select the size of public key.
Issuer Sets the issuer of the self-signed certificate.
Vali di ty Enters the valid days from 1 to 9999 days.
Generate Certificate Click to generate the self-signed certificate.
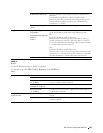
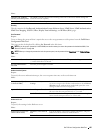
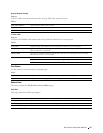
Certificate Signing Request
(CSR)
Click to display the Certificate Signing Request (CSR) page and to create a CSR from the page.
Digital Signature Algorithm Select the public key method.
Public Key Size Select the size of public key.
2 Digit Country Code
(Required)
Enter your country code.
State / Province Name (ST) Enter the name of state/region where your organization is located.
Locality Name (L) Enter the name of the city where your organization is located.
Organization Name (O)
(Required)
Enter your legal organization name.
Organization Unit (OU)
(Required)
Enter your division name.
Common Name (CN) Enter the fully-qualified domain name used for an SSL
communication.
E-mail Address Enter the e-mail address to contact your organization.
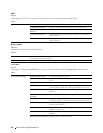
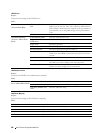
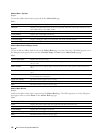
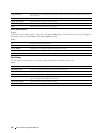
Upload Signed Certificate*
2
Click to display the Upload Signed Certificate page and to upload the certificate file to the
printer from the page.
Password Enter the password to upload the certificate file.
Re-enter Password Enter the password again for confirmation.
File Name Click Browse to browse the file name to upload to the printer.
Import Click Import to upload the certificate file to the printer.


