Installing and Cabling the Cabinets
102 Installation, Upgrades and Additions for Avaya CMC1 Media Gateways
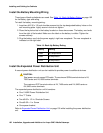
Install the Battery Mounting/Wiring
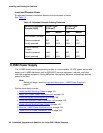
Three types of back-up batteries are used. See Table 14: Back-Up Battery Rating on page 102
for the battery type and rating.
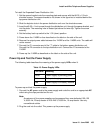
To install the battery mounting/wiring:
1. Insert two #10-32 x 1/2-inch shoulder screws into the top designated battery holes on the
wall mounting plate. Lightly screw in but do not tighten.
2. Place the keyhole slots in the battery bracket on these two screws. The battery cord exits
from the right of the bracket. Make sure the label on the battery is visible. Tighten the
screws securely.
3. Plug the battery cord into the power supply’s right rear receptacle. The rear receptacle is
indicated on the right label.
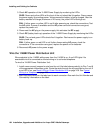
Install the Expanded Power Distribution Unit
A second power distribution unit can be installed to provide power to additional devices.
!
CAUTION:
CAUTION: Total power cannot exceed 275 watts. The maximum ISDN terminal mixture is 24,
7500-series and 24, 8500-series terminals.
The maximum DCP terminal mixture is 24, 7400-series and 24, 8400-series or
64, 8400-series terminals.
The expanded power distribution unit kit contains:
● One 1146B2 Power Distribution Unit
● One “T” Cable
● Two #8-32 x 1/2-in. Shoulder Screws
● One #8-32 x 1-in. Screw
● One spacer bracket
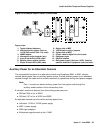
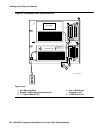
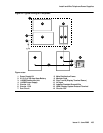
Refer to Expanded Power Distribution Unit
on page 100 while installing the power distribution
unit.
Table 14: Back-Up Battery Rating
Battery Rating
1148B 2.5 amp-hours
1149B 5 amp-hours
1147B 8 amp-hours


