Installing and Cabling the Cabinets
78 Installation, Upgrades and Additions for Avaya CMC1 Media Gateways
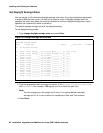
If you do not have a direct connection:
2. Go to the RFA website, and, following the instructions in the “Deliver to G3r/G3si/G3csi”
chapter of the RFA Job Aid, deliver the License File to your laptop/PC.
3. Open the License Installation Tool (LIT) application at your laptop/PC.
4. Use the LIT instructions to add a switch connection profile to the tool.
5. Use the LIT instructions to install the License File on the Avaya CMC1 Media Gateway.
System Administration
Note:
Note: To use Access Security Gateway (ASG), see Appendix B: Access Security
Gateway.
Log into the System
To log into the system:
1. Verify the screen displays: Login:
2. Login as craft and press Enter.
3. Type the default password d press Enter. The password does not display as it is typed. The
screen displays the Avaya Communication Manager version and the terminal types.
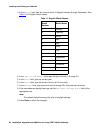
Terminal Type (513, 715, 4410, 4425, VT220): [513]
4. Enter the type of management terminal (such as 715) and press Enter.
Check System Status
The system status may suggest problem areas. Refer to Maintenance for Avaya DEFINITY
Server CSI.
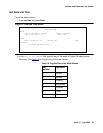
1. Type status system all-cabinets and press Enter.
2. Verify the screen displays a service state of in for all appropriate areas.
Check Customer Options
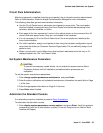
Refer to Administrator’s Guide for Avaya Communication Manager to view a sample screen.
Certain features are part of Avaya Communication Manager and do not require activation. They
default to y (yes) on the Optional Features form.
● ARS/AAR Partitioning
● Emergency Access to Attendant


