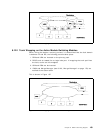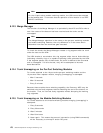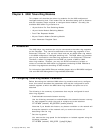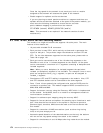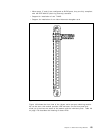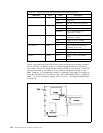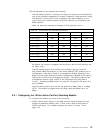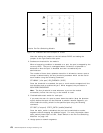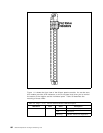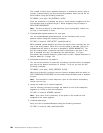
The DIP switches let you perform the following:
•
Use DIP switch positions 1 through 4 to assign all the ports on the module to
one of the backplane segments or isolated-1 segment. Note that when using
DIP switches, all the ports will be assigned to the same segment, so you
cannot do per-port switching when using DIP switches for configuring your
8260 modules.
Table 29 shows the meaning of settings for DIP switches 1 thru 4:
By default, the module is shipped from the factory with the DIP switches set
for token_ring_1.
•
Use DIP switch position 5 to choose if the module is going to use the
Non-Volatile RAM (ON position) or DIP switch settings (OFF position) for its
configuration. Note that if there is a management module installed in the
8260, this DIP switch determines which configuration (NVRAM or DIP switch
setting) will be sent to the management module. The actions taken by the
management module, upon receipt of this information are described in
4.2.4.4, “ Configuring DMM Device” on page 50. By default, DIP switch 5 is
set to NVRAM.
•
Use DIP switch position 8 to set the ring speed to 4 Mbps (ON) or 16 Mbps
(OFF). The module is shipped from the factory with the speed set to 16
Mbps.
Table 29. 18-Port Active Per-Port Switching Module
Network Selection Switch 1 Switch 2 Switch 3 Switch 4
token_ring_1 ON OFF OFF OFF
token_ring_2 OFF ON OFF OFF
token_ring_3 ON ON OFF OFF
token_ring_4 OFF OFF ON OFF
token_ring_5 ON OFF ON OFF
token_ring_6 OFF ON ON OFF
token_ring_7 ON ON ON OFF
token_ring_8 OFF OFF OFF ON
token_ring_9 ON OFF OFF ON
isolated_1 OFF OFF OFF OFF
9.3.1 Configuring the 18-Port Active Per-Port Switching Module
To configure this module you must do the following:
1. Before installing the module in the 8260, use the onboard jumpers on the
module to determine whether ports 17 and 18 are used as lobe ports or
RI/RO trunk ports. The onboard jumpers are shown in Figure 110 on
page 178.
Chapter 9. 8260 Token-Ring Modules 177


