Changing Color Modes
3-27
Basic Scanning Features
3
3
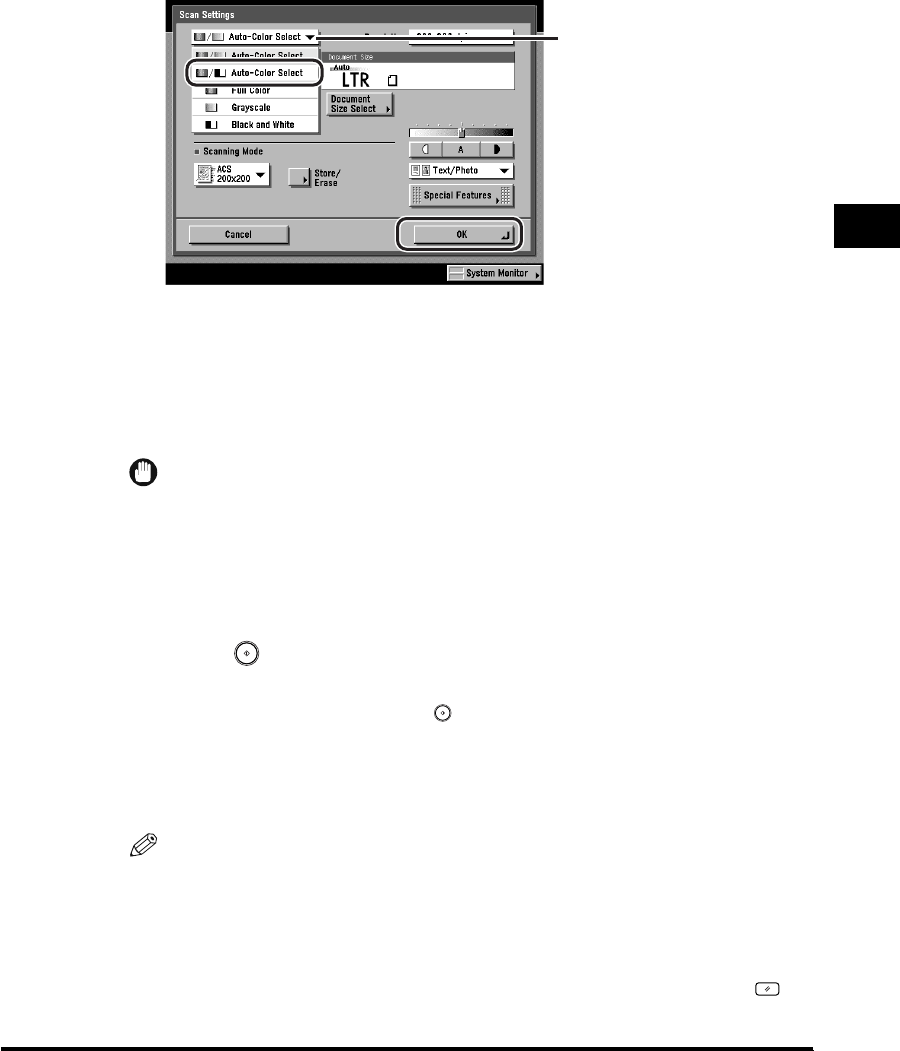
Press the color selection drop-down list ➞ press [Auto-Color
Select (Full Color/Black-and-White)] ➞ [OK].
When [PDF (Compct)] is selected as the File Format, if you specify [Auto-Color
Select (Full Color/Black-and-White)] as the color mode and press [OK], a
message asking for your confirmation to change the File Format appears on the
screen.
The selected mode is set, and the display returns to the Send Basic Features
screen.
IMPORTANT
If [PDF (Compct)] is selected as the File Format, the color mode is automatically
changed to [Auto-Color Select (Full Color/Grayscale)] even if you set the color
mode to [Auto-Color Select (Full Color/Black-and-White)]. If you want to send the
document in the Automatic Color Selection (Full Color/Black-and-White) mode,
change the File Format setting to anything other than [PDF (Compct)].
4
Press (Start).
If the original is placed on the platen glass, follow the instructions that appear on
the touch panel display ➞ press (Start) once for each original. When
scanning is complete, press [Done].
Scanning starts.
The scanned data is sent to the specified destination when scanning is complete.
NOTE
•
To cancel the scan settings, press the Scan Settings drop-down list ➞ press
[Option] ➞ [Cancel].
•
If the Preview key is lit, the Preview display setting is turned on, and you can verify
the images from the Preview screen before sending your document. (See
"Previewing Originals," on p. 5-34.)
•
To cancel all settings and return the machine to the Standard mode, press
(Reset).
Color Selection


