Storing New Addresses
9-31
Storing/Editing Address Book Settings
9
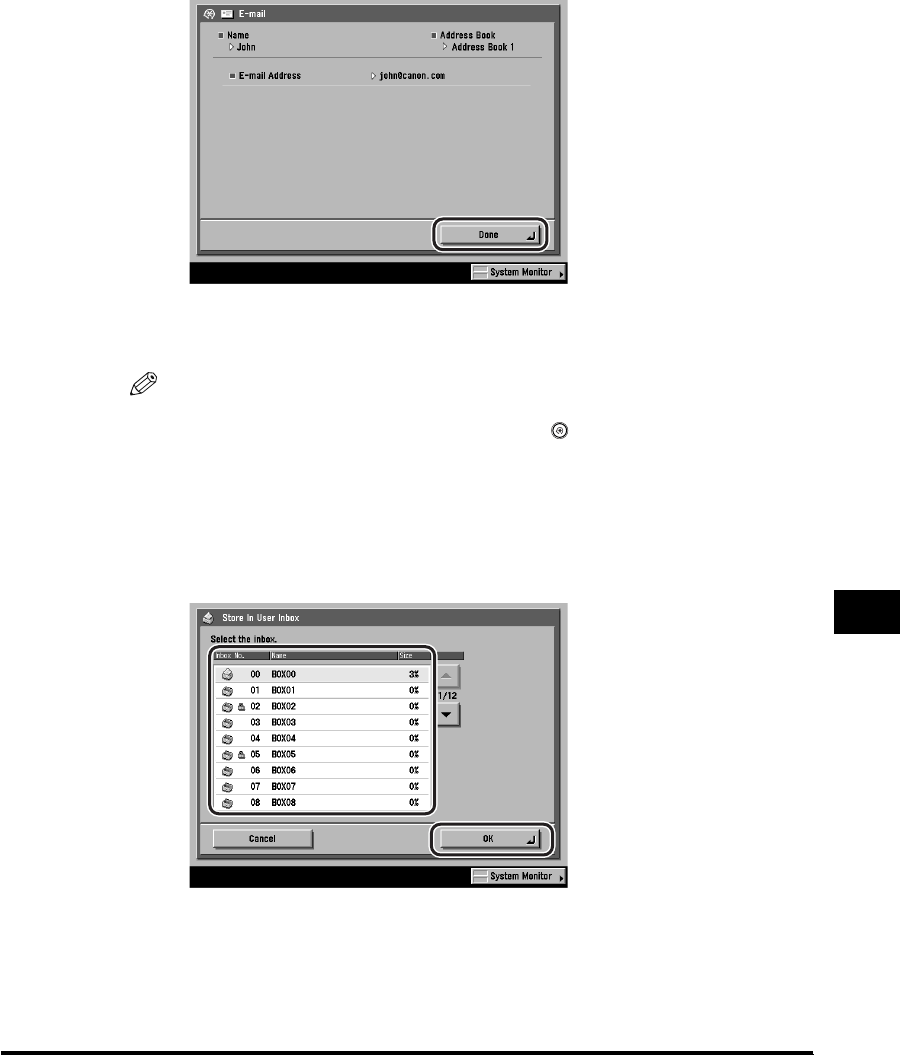
You can select a destination and press [Details] to display the screen shown
below. This enables you to confirm the detailed information related to the
selected destinations. Press [Done] to return to the previous screen.
Repeat step 7 to add other destinations.
The destination you have stored is listed.
NOTE
To display [Access Number], set Access Number Management to 'On'. To access
the Access Number Management setting, press (Additional Functions) ➞
[System Settings] ➞ [Manage/Access to Address Book] ➞ [Access Number
Management]. (See "Manage/Access to Address Book," on p. 10-22.)
● If you select [Store In Usr Inbox]:
❑ Select the User Inbox in which to store the document from the Inbox Selection
screen ➞ press [OK].
User Inboxes specified as destinations correspond to the inboxes that appear
on the Inbox Selection screen for the Mail Box function.
If the User Inbox to be selected is not displayed, press [▼] or [▲] to scroll to
the User Inbox.
Repeat step 7 to add other types of destinations.


